Blogs written by agent workflows
Agentic Blog Generator
AI-generated blogs via an “agentic” workflow graph.
Documentation
Agentic Blog Generator (Full-Stack)
🔗 Live Demo
👉 https://blog-generator-tau.vercel.app/
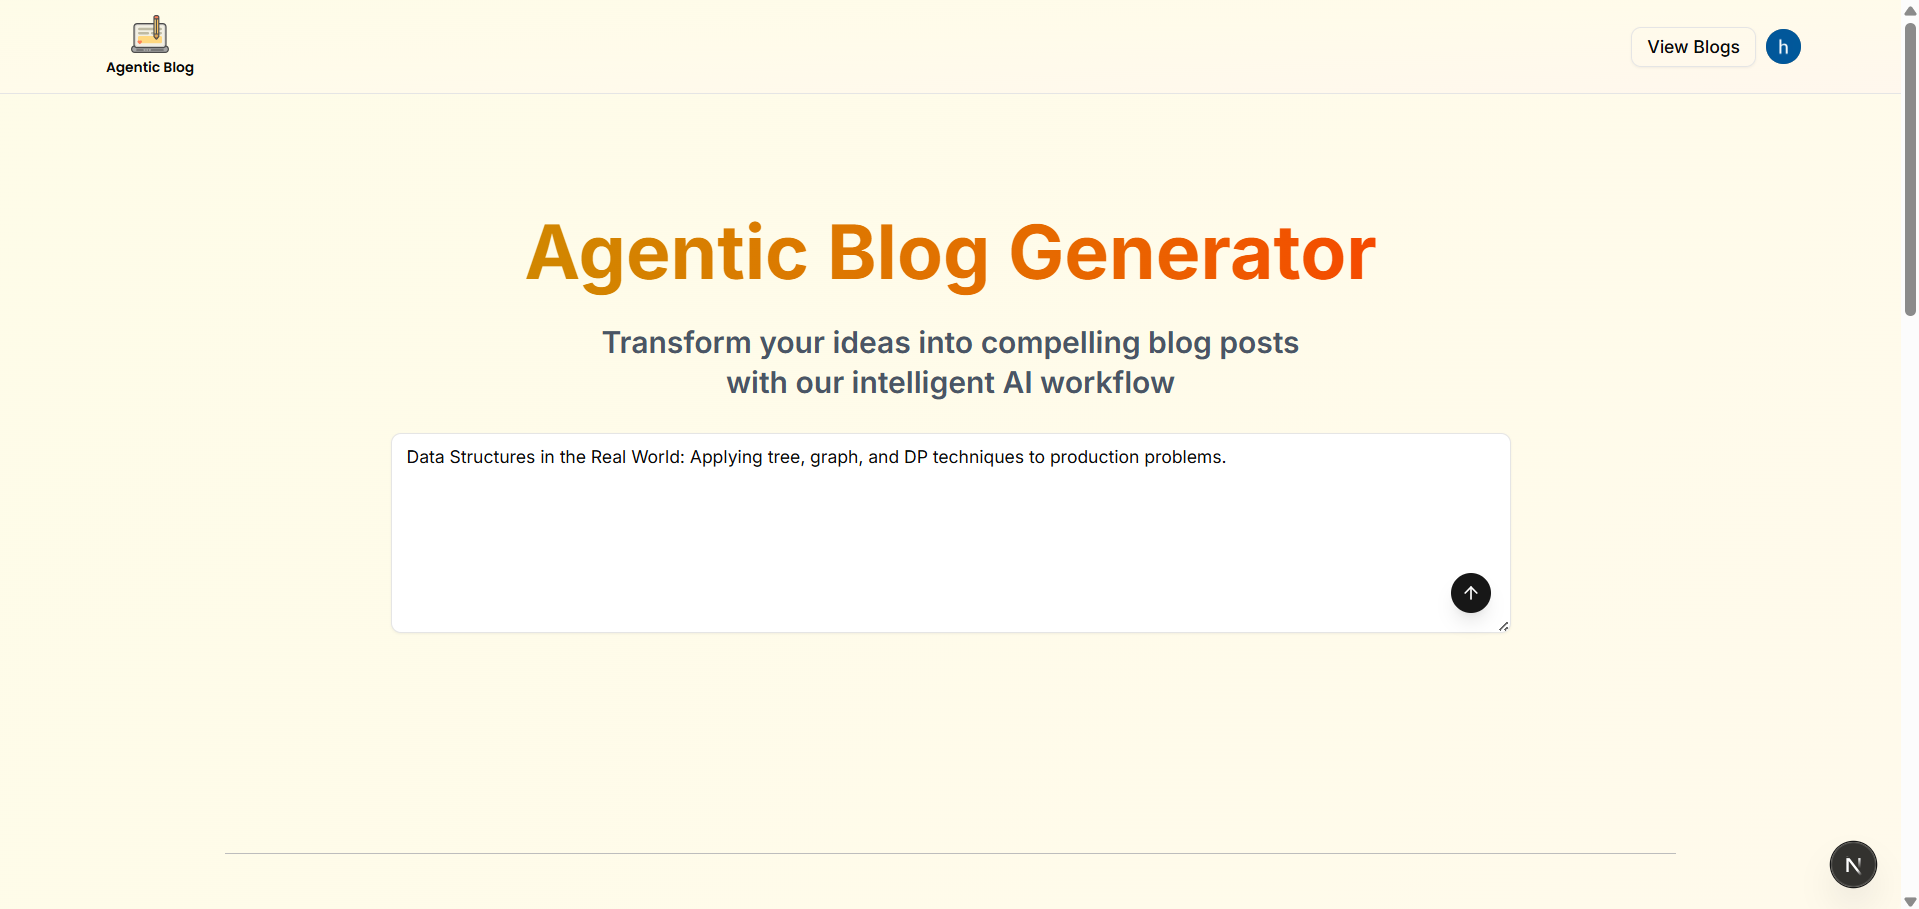
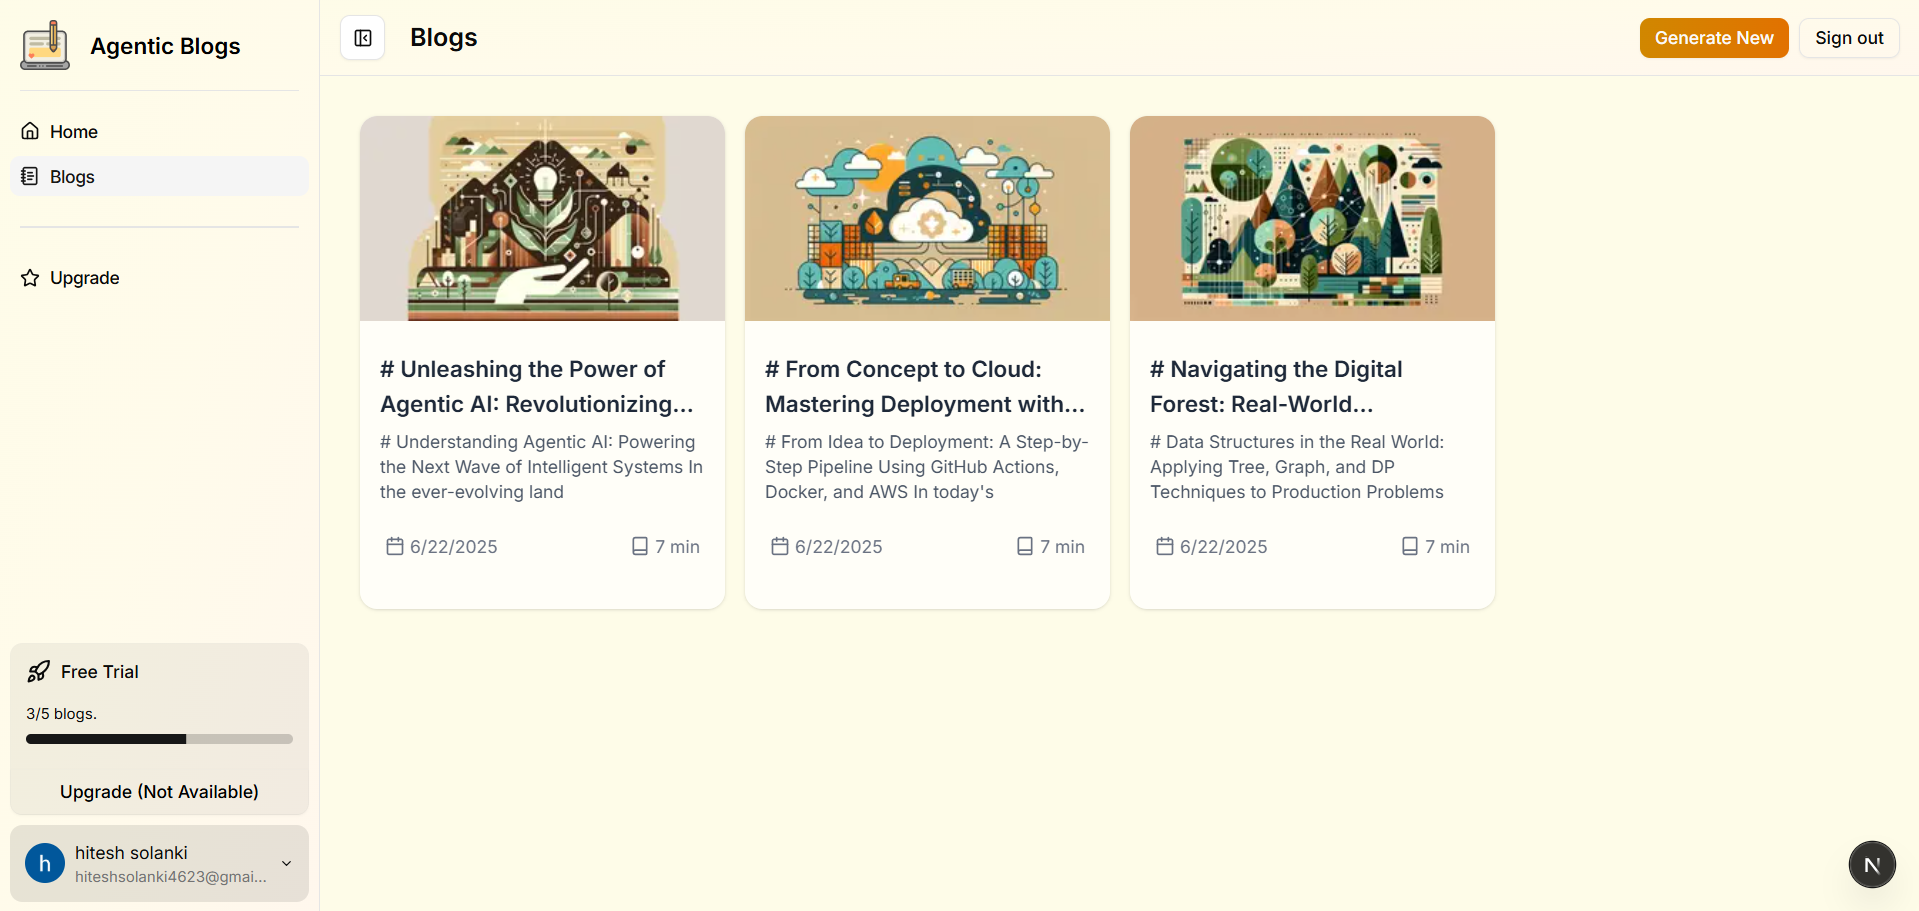
🔗 ScreenShot
📂 Repository Structure
/ (root)
├── blog-generator-be/      # Python FastAPI back‑end (AI & API logic)
├── blog-generator-fe/      # Next.js front‑end (UI & Client)
├── images/                 # AI‑generated header images (optional storage)
└── README.md               # This documentation
🚀 Overview
Blog Generator is a monorepo containing two standalone apps:
-
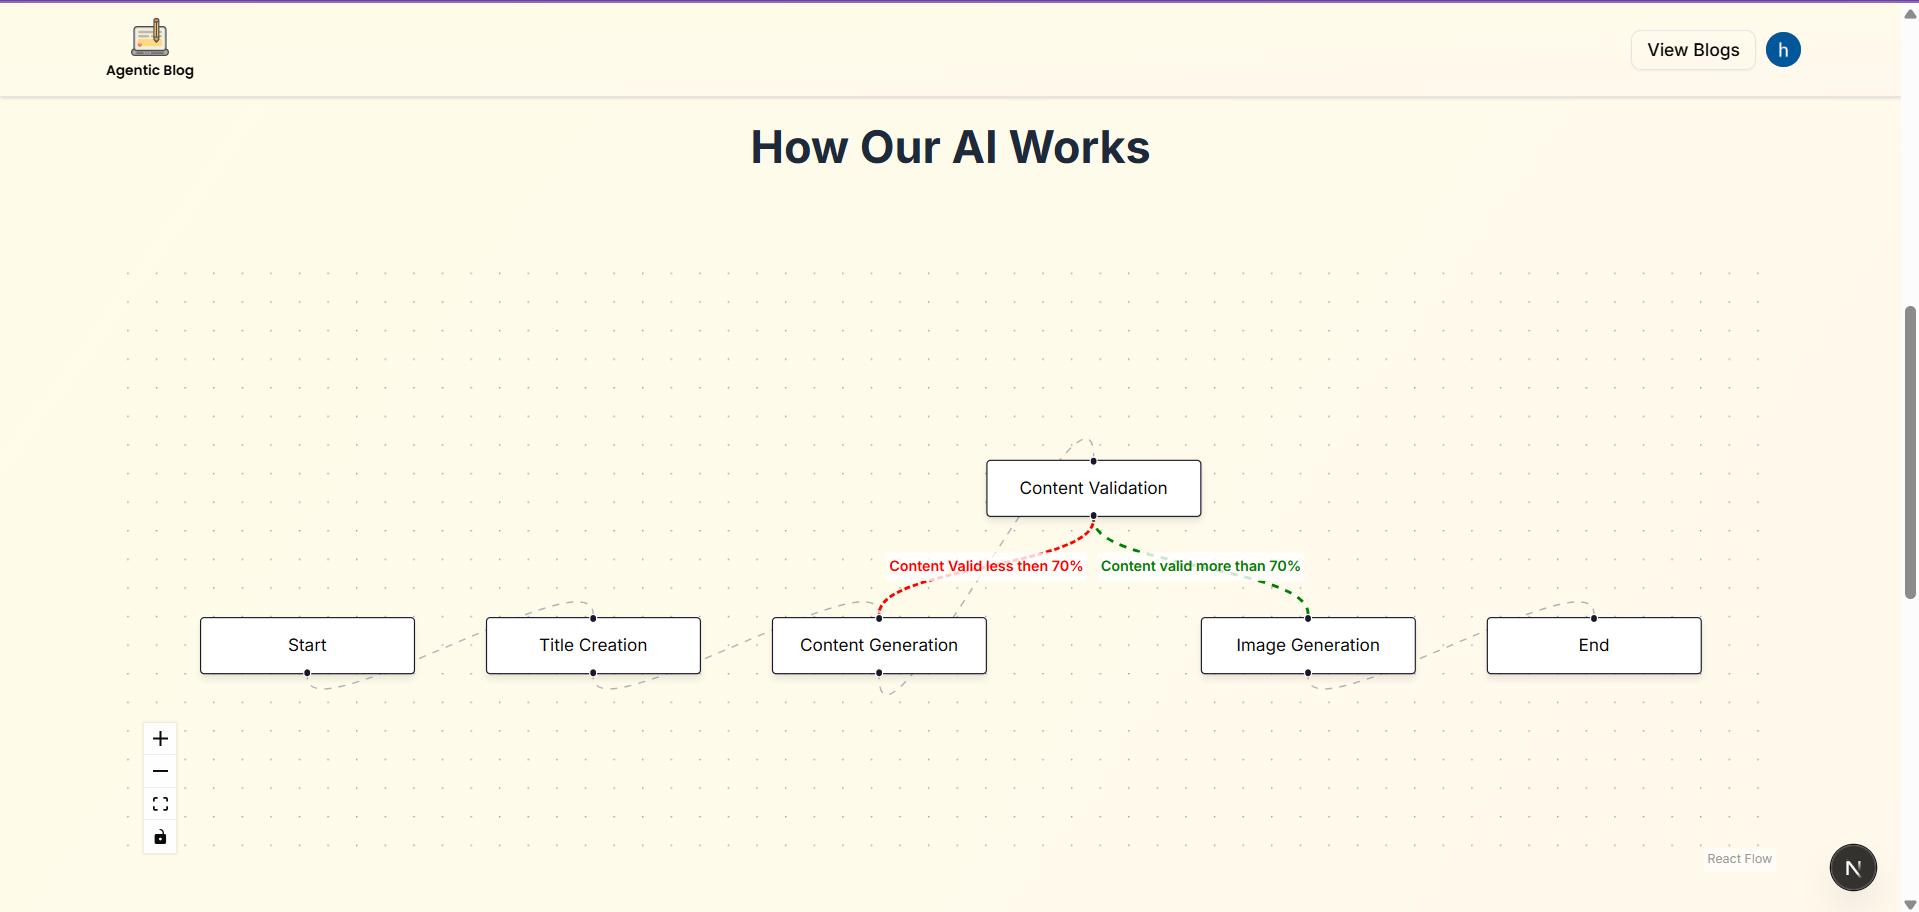
Back‑end (blog-generator-be): A FastAPI service that implements a multi-stage AI workflow:
- Title creation
- Content generation
- Content validation (pass/fail routing)
- Image generation
- REST API endpoints for front‑end consumption
-
Front‑end (blog-generator-fe): A Next.js application that:
- Authenticates users via Clerk
- Presents a prompt form and React Flow graph
- Renders and manages blogs (list, detail, share)
Both apps are production‑ready, containerizable, and deployed on Vercel (Front‑end) and can run anywhere Python apps are supported (Back‑end).
🛠 Back‑end (blog-generator-be)
📋 Contents
blog-generator-be/
├── app.py            # FastAPI app entrypoint
├── src/              # AI workflow modules & routers
├── command.md        # CLI & deployment commands
├── Dockerfile        # Container image spec
├── requirements.txt  # Python dependencies
└── .env.example      # Sample env vars (copy to .env)
⚙️ Setup & Run Locally
-
Enter the folder
cd blog-generator-be -
Copy & configure env
cp .env.example .env # Then open .env and set: # OPENAI_API_KEY= # LANGGRAPH_API_KEY= # DATABASE_URL=postgresql://... -
Install dependencies
pip install -r requirements.txt -
Run the server
uvicorn app:app --reload --host 0.0.0.0 --port 8000 -
Test endpoints
- Open http://localhost:8000/docs for interactive OpenAPI UI.
🐳 Docker
Build and run via Docker
cd blog-generator-be
# Build image
docker build -t blog-be:latest .
# Run container
docker run -d --name blog-be -p 8000:8000 --env-file ./.env blog-be:latest
💻 Front‑end (blog-generator-fe)
📋 Contents
blog-generator-fe/
├── pages/                 # Next.js App Router pages
├── components/            # UI & graph components
├── styles/                # Tailwind + shadcn/ui configs
├── public/                # Static assets & images
├── next.config.js         # Next config
└── package.json           # JS dependencies & scripts
⚙️ Setup & Run Locally
-
Enter the folder
cd blog-generator-fe -
Install dependencies
npm install # or yarn -
Configure env Create
.env.local:NEXT_PUBLIC_CLERK_FRONTEND_API=<your-clerk-frontend-api> NEXT_PUBLIC_APP_URL=http://localhost:3000 -
Run dev server
npm run dev
🐳 Docker (Optional)
cd blog-generator-fe
docker build -t blog-fe:latest .
# Expose port 3000
docker run -d --name blog-fe -p 3000:3000 blog-fe:latest
🔗 Integrating Front‑end & Back‑end
By default, the front‑end expects the API at http://localhost:8000. If your back‑end runs elsewhere, update NEXT_PUBLIC_APP_URL in .env.local accordingly.
📦 Deployment
- Back‑end: Deploy the
blog-generator-befolder to any Python‑compatible host or container platform (e.g., AWS ECS, Heroku, Railway). Ensure env vars are set. - Front‑end: Connect the
blog-generator-fefolder to Vercel (or Netlify). Add Clerk and API URL env vars in the dashboard.
Keep exploring
Related work
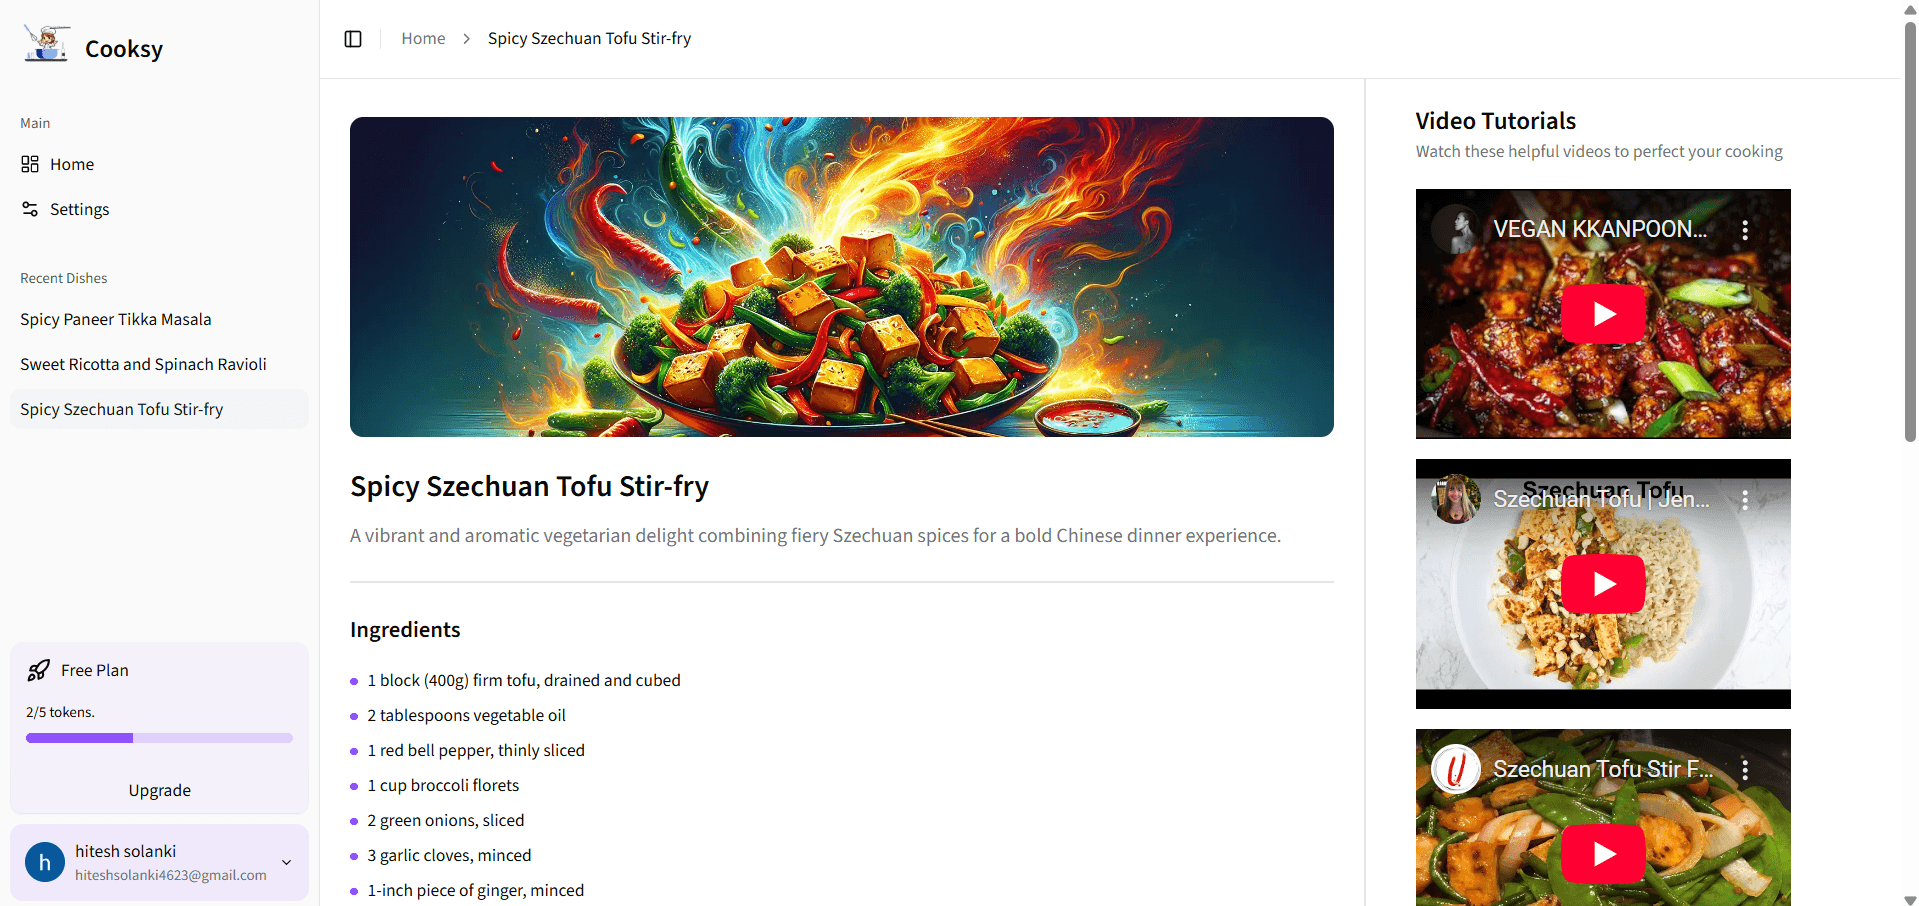
Cooksy
An AI-powered sous-chef that turns your pantry into mouthwatering recipes—complete with step-by-step instructions, on-brand dish imagery, and curated YouTube video tutorials.
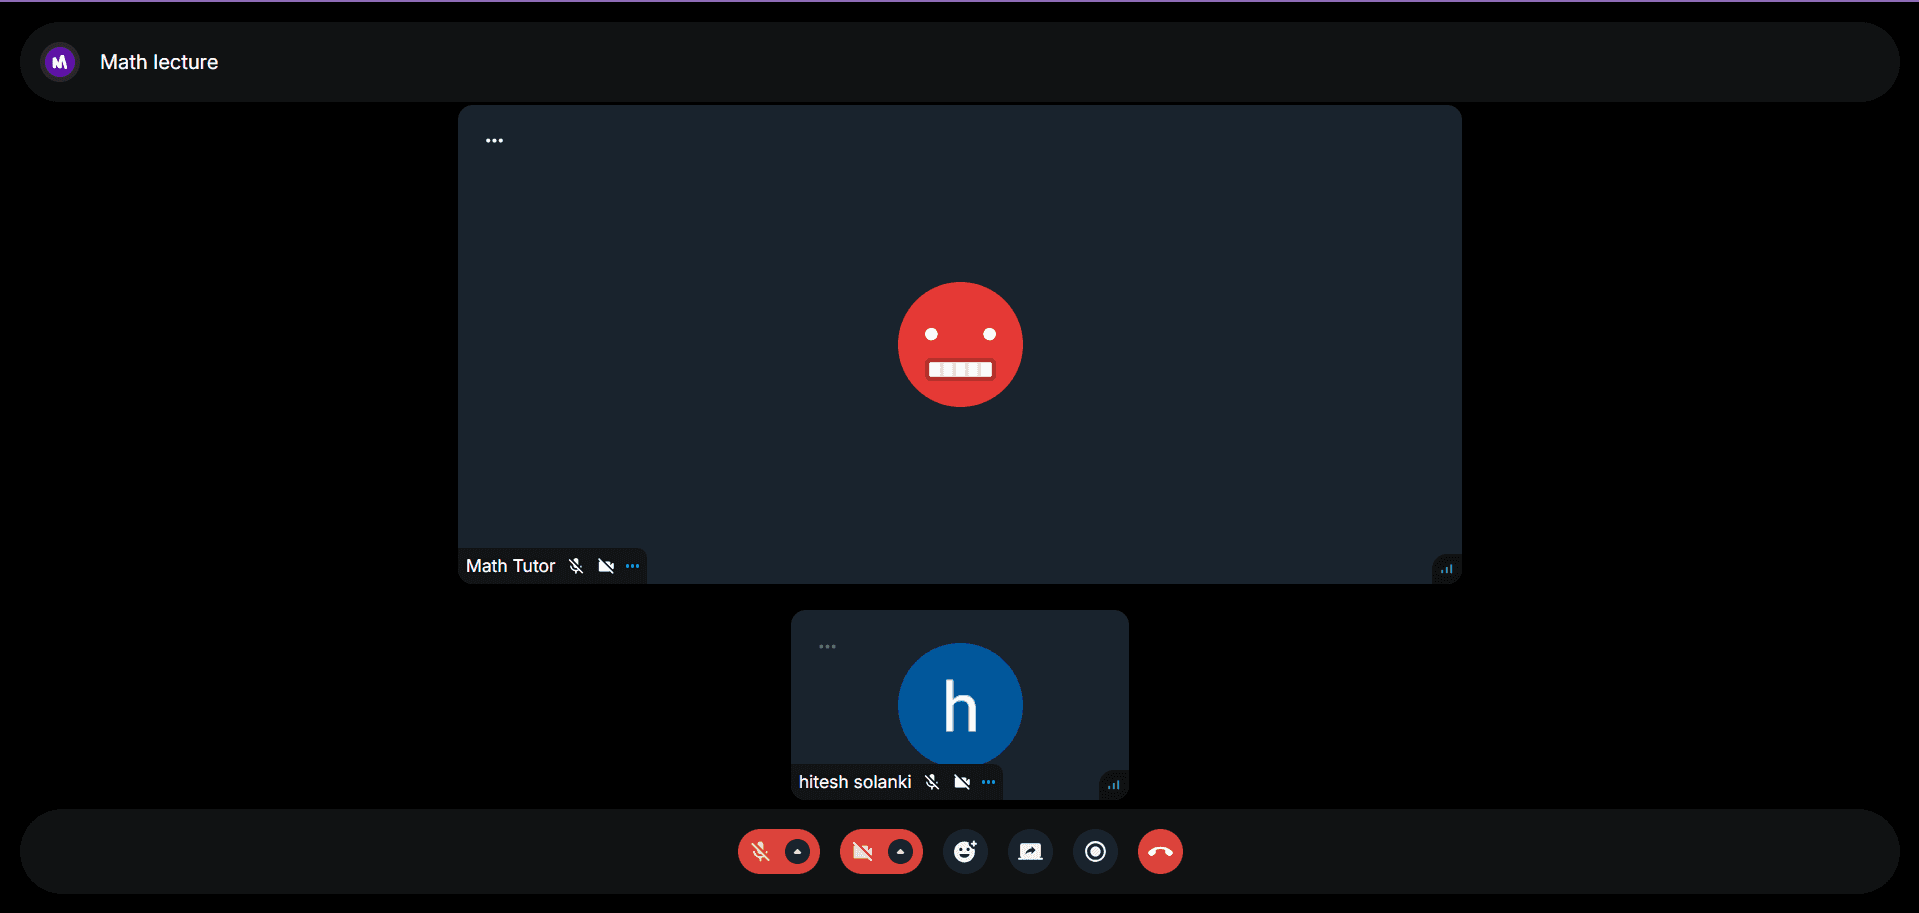
Meet AI
A real-time, AI-powered video & chat platform—create your own AI “agents,” schedule meetings, and collaborate seamlessly in the browser.
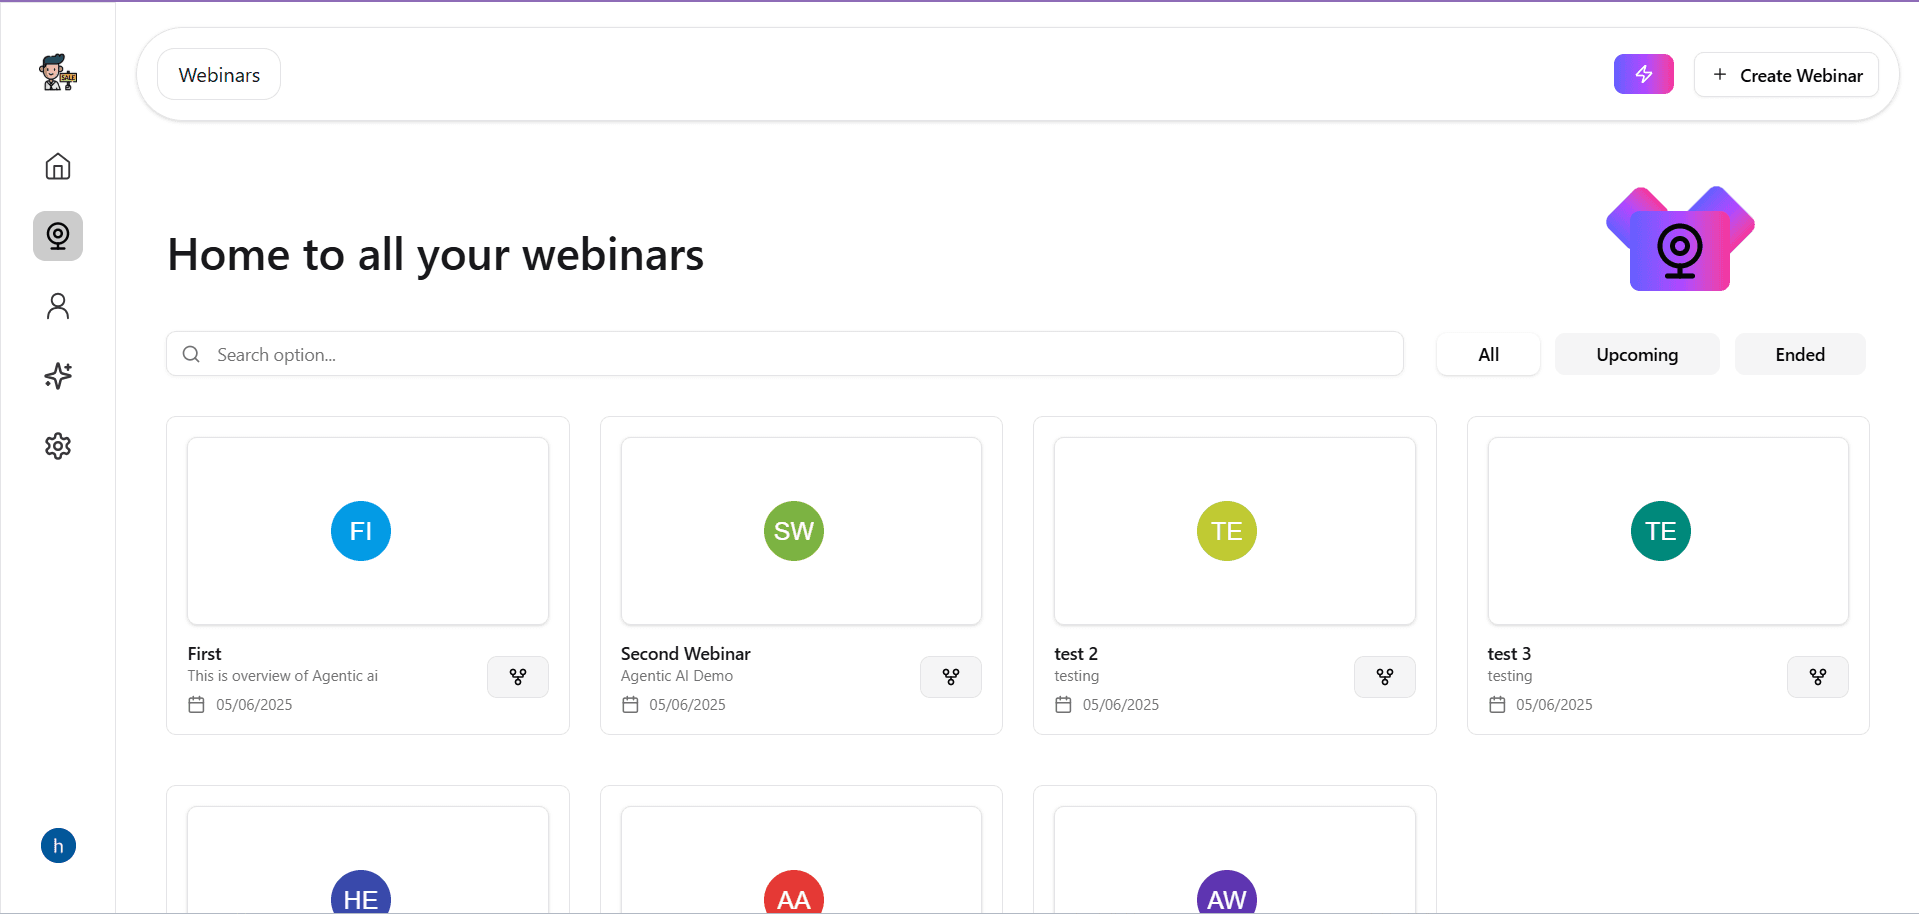
Webinar AI
Welcome to Webinar AI, an AI-powered platform that helps you create, manage, and automate webinars — designed to maximize lead generation and conversion using intelligent agents.