Context-preserving AI auth flow
AI Auth Agent
Context-preserving AI authentication flow focused on reducing login drop-off and improving conversion.
Documentation
AI Auth Agent
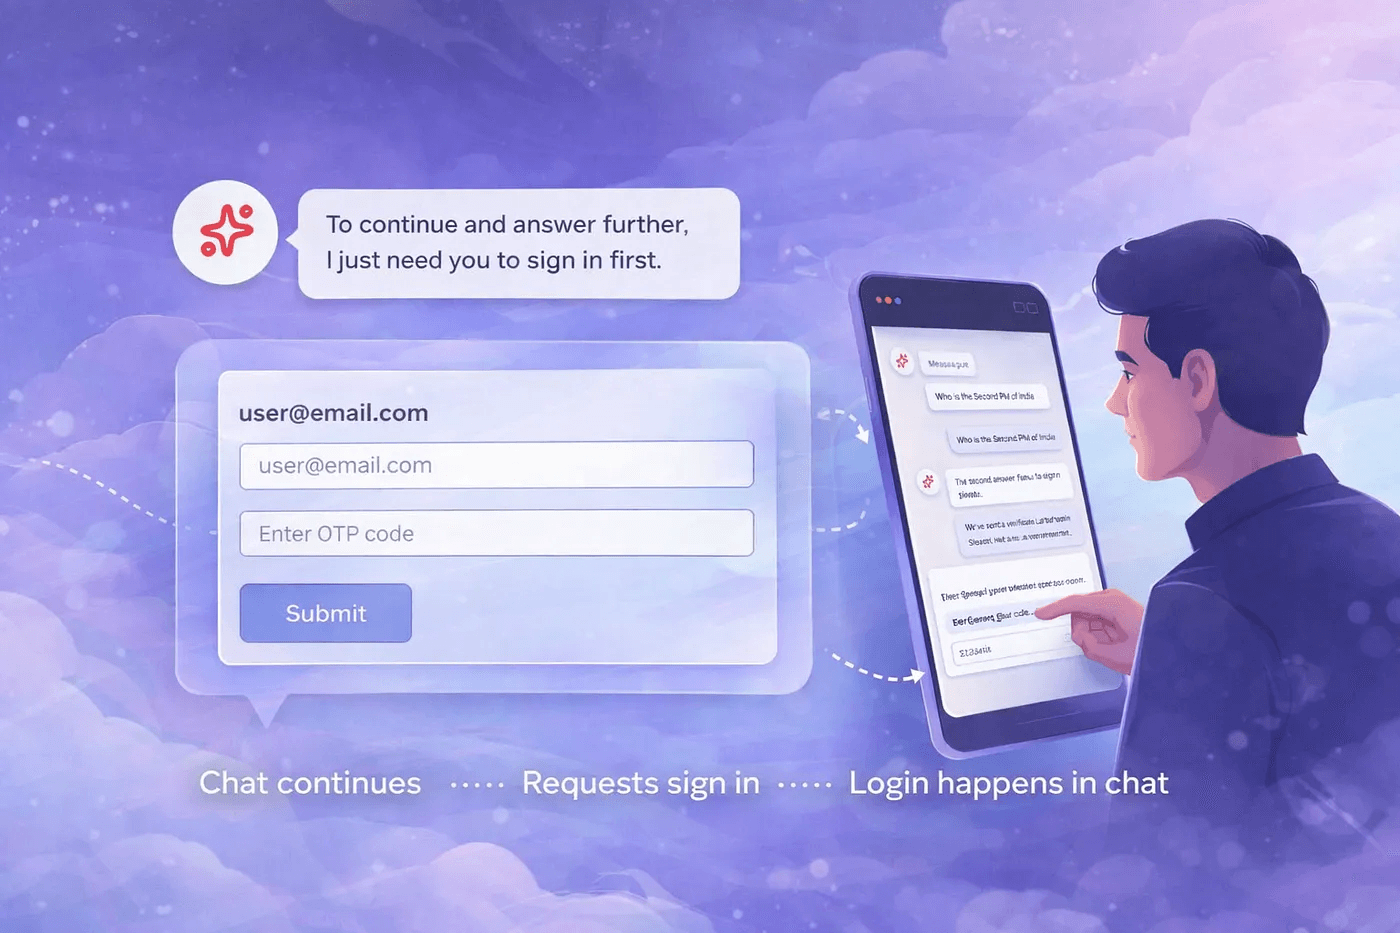
A Next.js application featuring an intelligent AI-powered chat assistant with seamless email-based authentication. The agent intelligently handles authentication flows through natural conversation, making user onboarding smooth and intuitive.
✨ Features
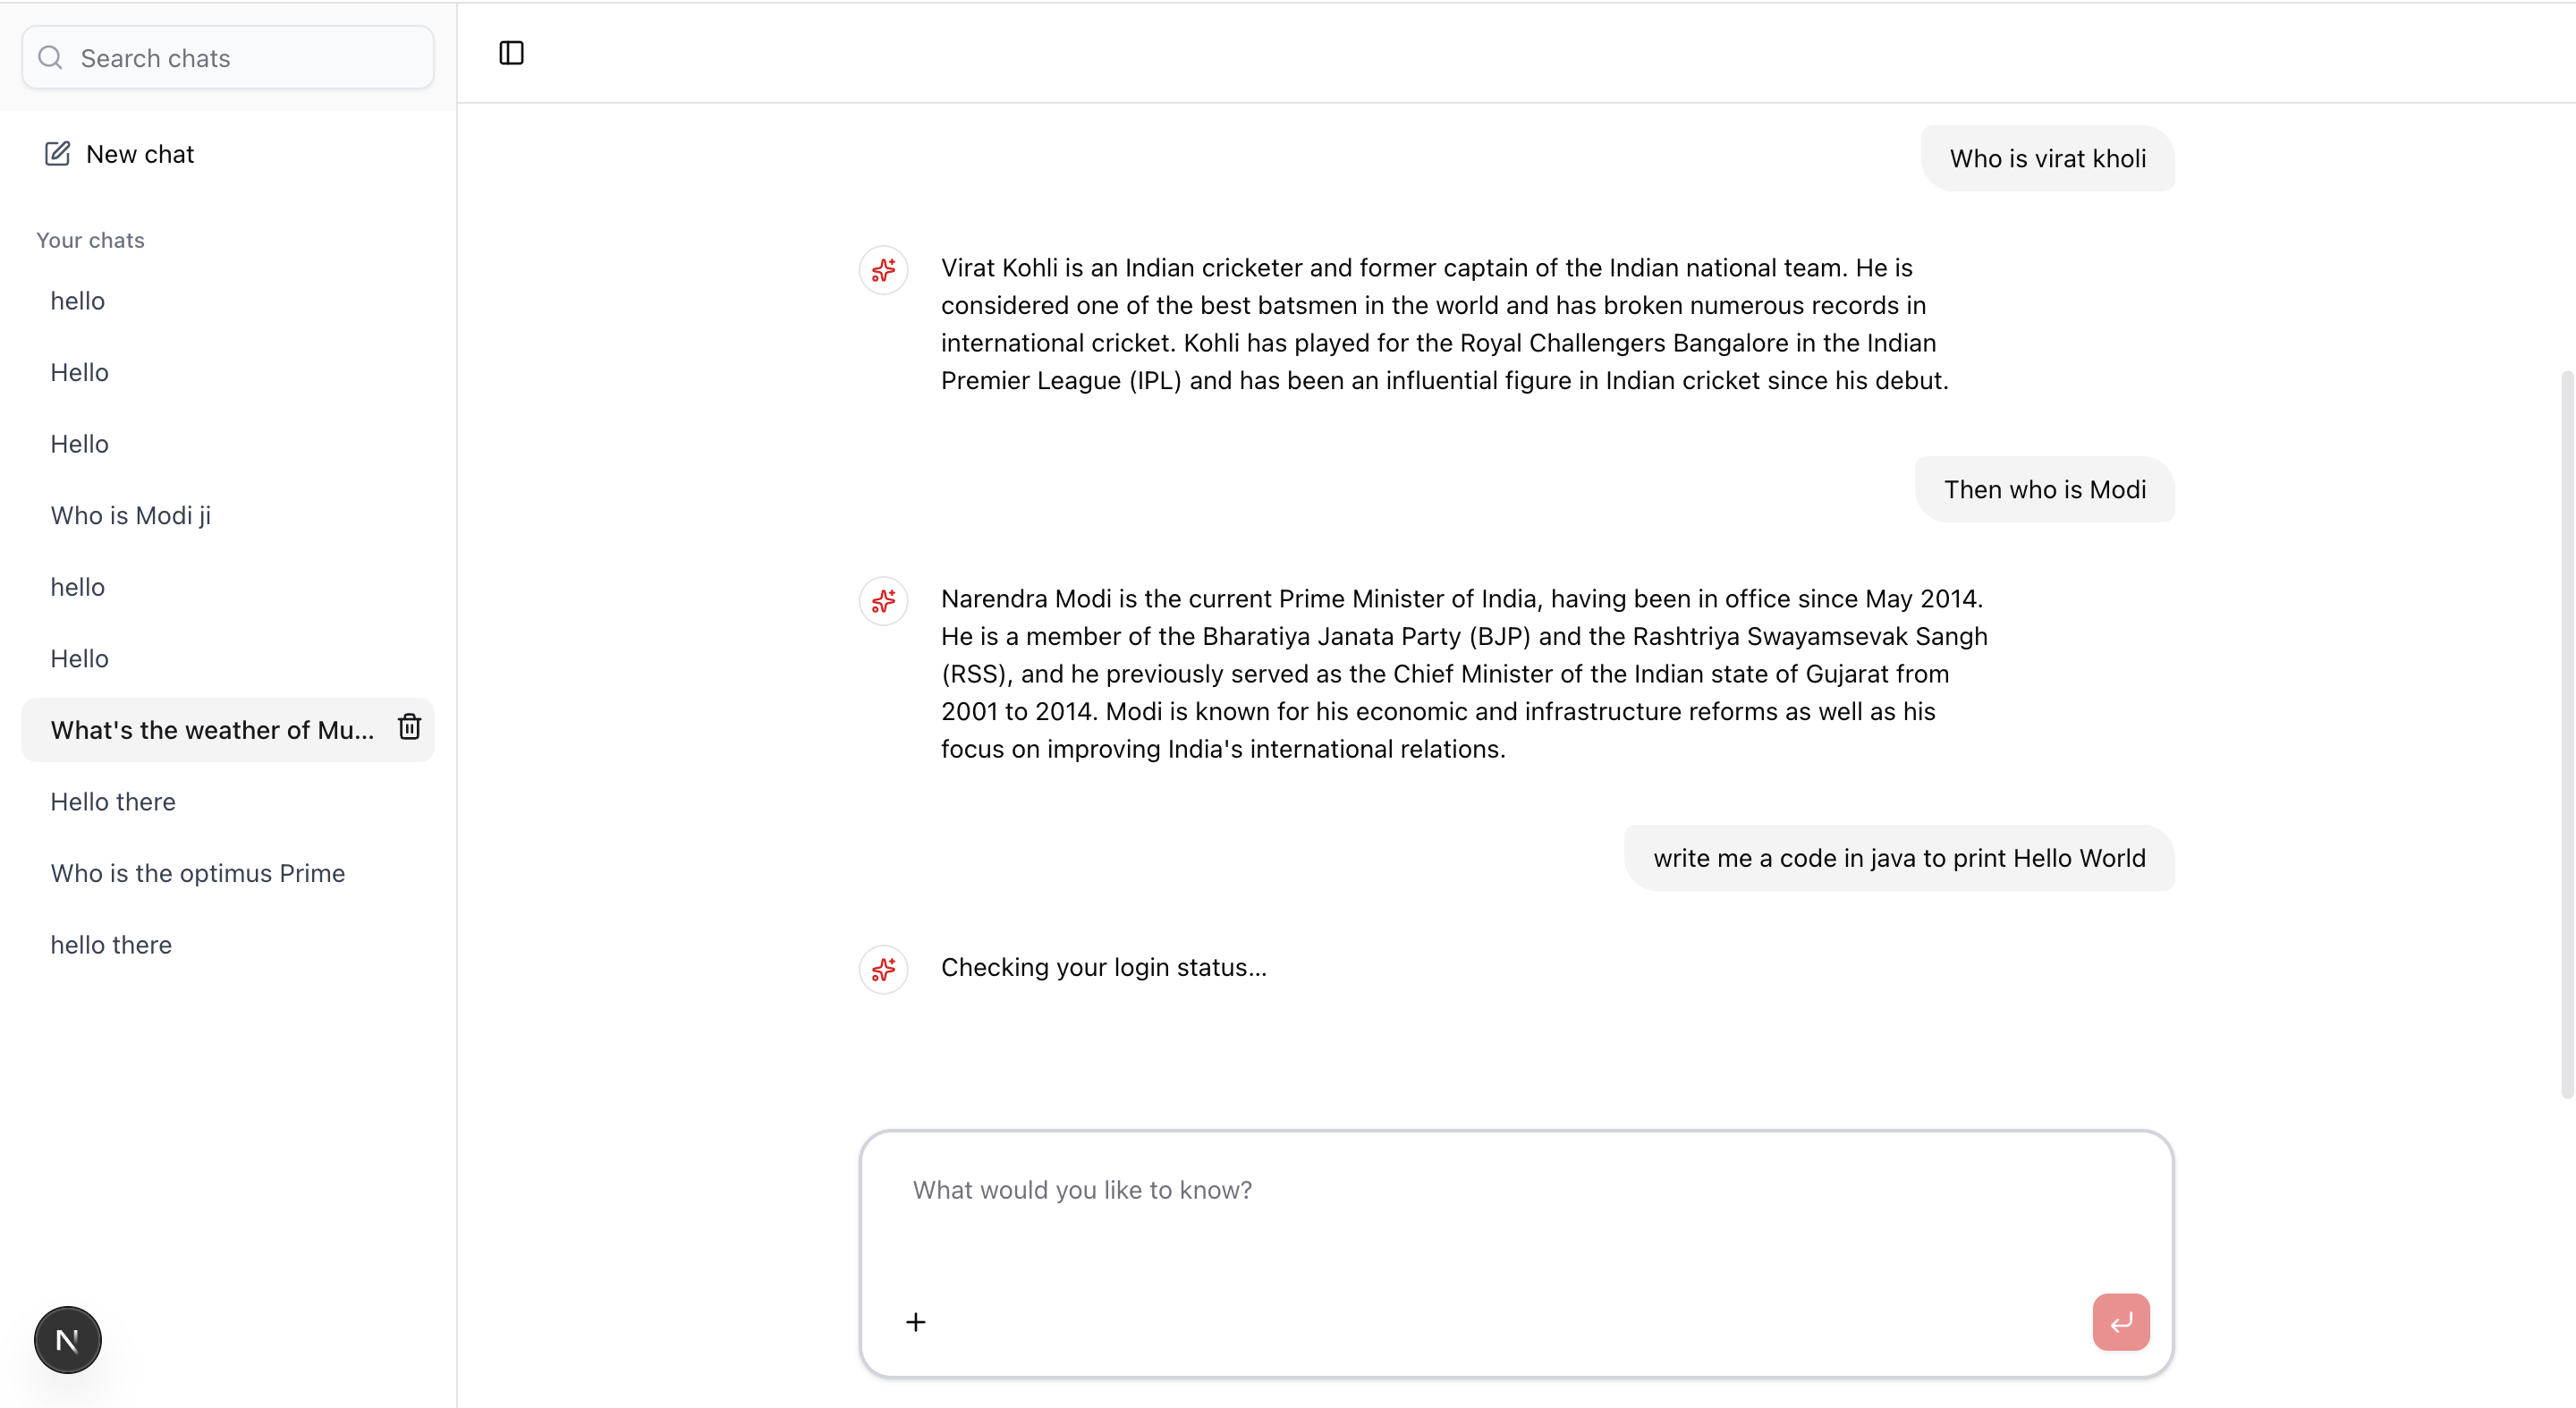
- 🤖 AI-Powered Chat Interface - Interactive chat experience powered by Google AI and OpenAI
- 🔐 Intelligent Authentication Flow - The AI agent automatically detects when authentication is needed and guides users through email-based OTP verification
- 💬 Persistent Chat History - All conversations are saved and can be accessed anytime
- 🎨 Modern UI - Beautiful, responsive interface built with Radix UI and Tailwind CSS
- ⚡ Real-time Streaming - Messages stream in real-time for a smooth conversational experience
- 🛠️ Tool Integration - Extensible tool system for email validation and other utilities
- 📱 Responsive Design - Works seamlessly on desktop and mobile devices
🛠️ Tech Stack
- Framework: Next.js 16 with App Router
- Authentication: Clerk for user management
- AI SDK: Vercel AI SDK with Google AI and OpenAI providers
- Database: PostgreSQL with Drizzle ORM
- UI Components: Radix UI + Tailwind CSS
- State Management: TanStack Query for server state
- Forms: React Hook Form with Zod validation
- Type Safety: Full TypeScript support
📋 Prerequisites
Before you begin, ensure you have the following installed:
- Node.js 18+ and npm/yarn/pnpm
- PostgreSQL database (local or cloud service like Supabase, Neon, etc.)
- Clerk Account - Sign up at clerk.com for authentication
- AI Provider API Keys - Google AI or OpenAI API key
🚀 Getting Started
1. Clone the Repository
git clone <your-repo-url>
cd ai-auth-agent
2. Install Dependencies
npm install
# or
yarn install
# or
pnpm install
3. Environment Variables
Create a .env.local file in the root directory with the following variables:
# Database
DATABASE_URL=postgresql://user:password@localhost:5432/ai-auth-agent

# Clerk Authentication
NEXT_PUBLIC_CLERK_PUBLISHABLE_KEY=your_clerk_publishable_key
CLERK_SECRET_KEY=your_clerk_secret_key

# AI Provider (choose one or both)
GOOGLE_GENERATIVE_AI_API_KEY=your_google_ai_key
OPENAI_API_KEY=your_openai_key

# Next.js
NEXT_PUBLIC_APP_URL=http://localhost:3000
4. Database Setup
Create Database
If using a local PostgreSQL instance:
createdb ai-auth-agent
Or use your cloud provider's dashboard to create a database.
Run Migrations
# Generate migration files from schema
npm run db:generate

# Apply migrations to your database
npm run db:migrate

# Or use push for development (auto-syncs schema changes)
npm run db:push
Optional: Open Drizzle Studio
View and manage your database with a GUI:
npm run db:studio
This will open Drizzle Studio at http://localhost:4983
5. Run the Development Server
npm run dev
# or
yarn dev
# or
pnpm dev
Open http://localhost:3000 in your browser to see the application.
📁 Project Structure
ai-auth-agent/
├── src/
│   ├── app/                    # Next.js app router pages
│   │   ├── (auth)/            # Authentication pages
│   │   ├── (public)/          # Public pages (chat interface)
│   │   └── api/               # API routes
│   ├── components/            # Reusable UI components
│   │   └── ui/                # shadcn/ui components
│   ├── db/                    # Database schema and queries
│   │   └── ai/                # AI-related database models
│   ├── hooks/                 # Custom React hooks
│   ├── lib/                   # Utility functions and configurations
│   │   ├── system_prompts/   # AI agent prompts
│   │   └── tools/            # AI tools (email validator, etc.)
│   ├── modules/               # Feature modules
│   │   ├── auth/              # Authentication logic
│   │   ├── chat/              # Chat functionality
│   │   ├── messages/          # Message handling
│   │   └── tools/             # Tool management
│   └── providers/             # React context providers
├── images/                    # Project images and screenshots
├── public/                    # Static assets
└── drizzle.config.ts          # Drizzle ORM configuration
🎯 Key Features Explained
Intelligent Authentication Flow
The AI agent automatically detects when a user needs to authenticate by monitoring for specific alert patterns. When authentication is required:
- The agent politely explains that login is needed
- Requests the user's email address
- Validates the email format
- Sends a one-time verification code
- Verifies the code and completes authentication
- Resumes the original conversation
All of this happens through natural conversation - no technical jargon or abrupt redirects.
Chat System
- Persistent Conversations: All chats are saved to the database
- Auto-generated Titles: Chat titles are automatically generated from the first message
- Message History: Full conversation history is maintained
- Streaming Responses: AI responses stream in real-time for better UX
Tool System
The application supports extensible AI tools:
- Email Validator: Validates email format before sending OTP codes
- Weather Tool: Example of additional tool integration
- Easy to add custom tools following the existing pattern
🔧 Available Scripts
npm run dev- Start development servernpm run build- Build for productionnpm run start- Start production servernpm run lint- Run ESLintnpm run db:generate- Generate database migration filesnpm run db:migrate- Apply migrations to databasenpm run db:push- Push schema changes directly (development)npm run db:studio- Open Drizzle Studio GUI
🚢 Deployment
Deploy on Vercel
The easiest way to deploy is using Vercel:
- Push your code to GitHub
- Import your repository on Vercel
- Add your environment variables in Vercel dashboard
- Deploy!
Vercel will automatically:
- Detect Next.js
- Run the build command
- Set up production optimizations
Environment Variables for Production
Make sure to set all required environment variables in your deployment platform:
DATABASE_URL- Your production PostgreSQL connection stringNEXT_PUBLIC_CLERK_PUBLISHABLE_KEY- Clerk publishable keyCLERK_SECRET_KEY- Clerk secret keyGOOGLE_GENERATIVE_AI_API_KEYorOPENAI_API_KEY- AI provider keyNEXT_PUBLIC_APP_URL- Your production URL
📝 Learn More
- Next.js Documentation - Learn about Next.js features and API
- Vercel AI SDK - AI SDK documentation
- Clerk Documentation - Authentication setup guide
- Drizzle ORM - Database ORM documentation
🤝 Contributing
Contributions are welcome! Please feel free to submit a Pull Request.
📄 License
This project is open source and available under the MIT License.
Built with ❤️ using Next.js and AI
Keep exploring
Related work
MindBoard Arena
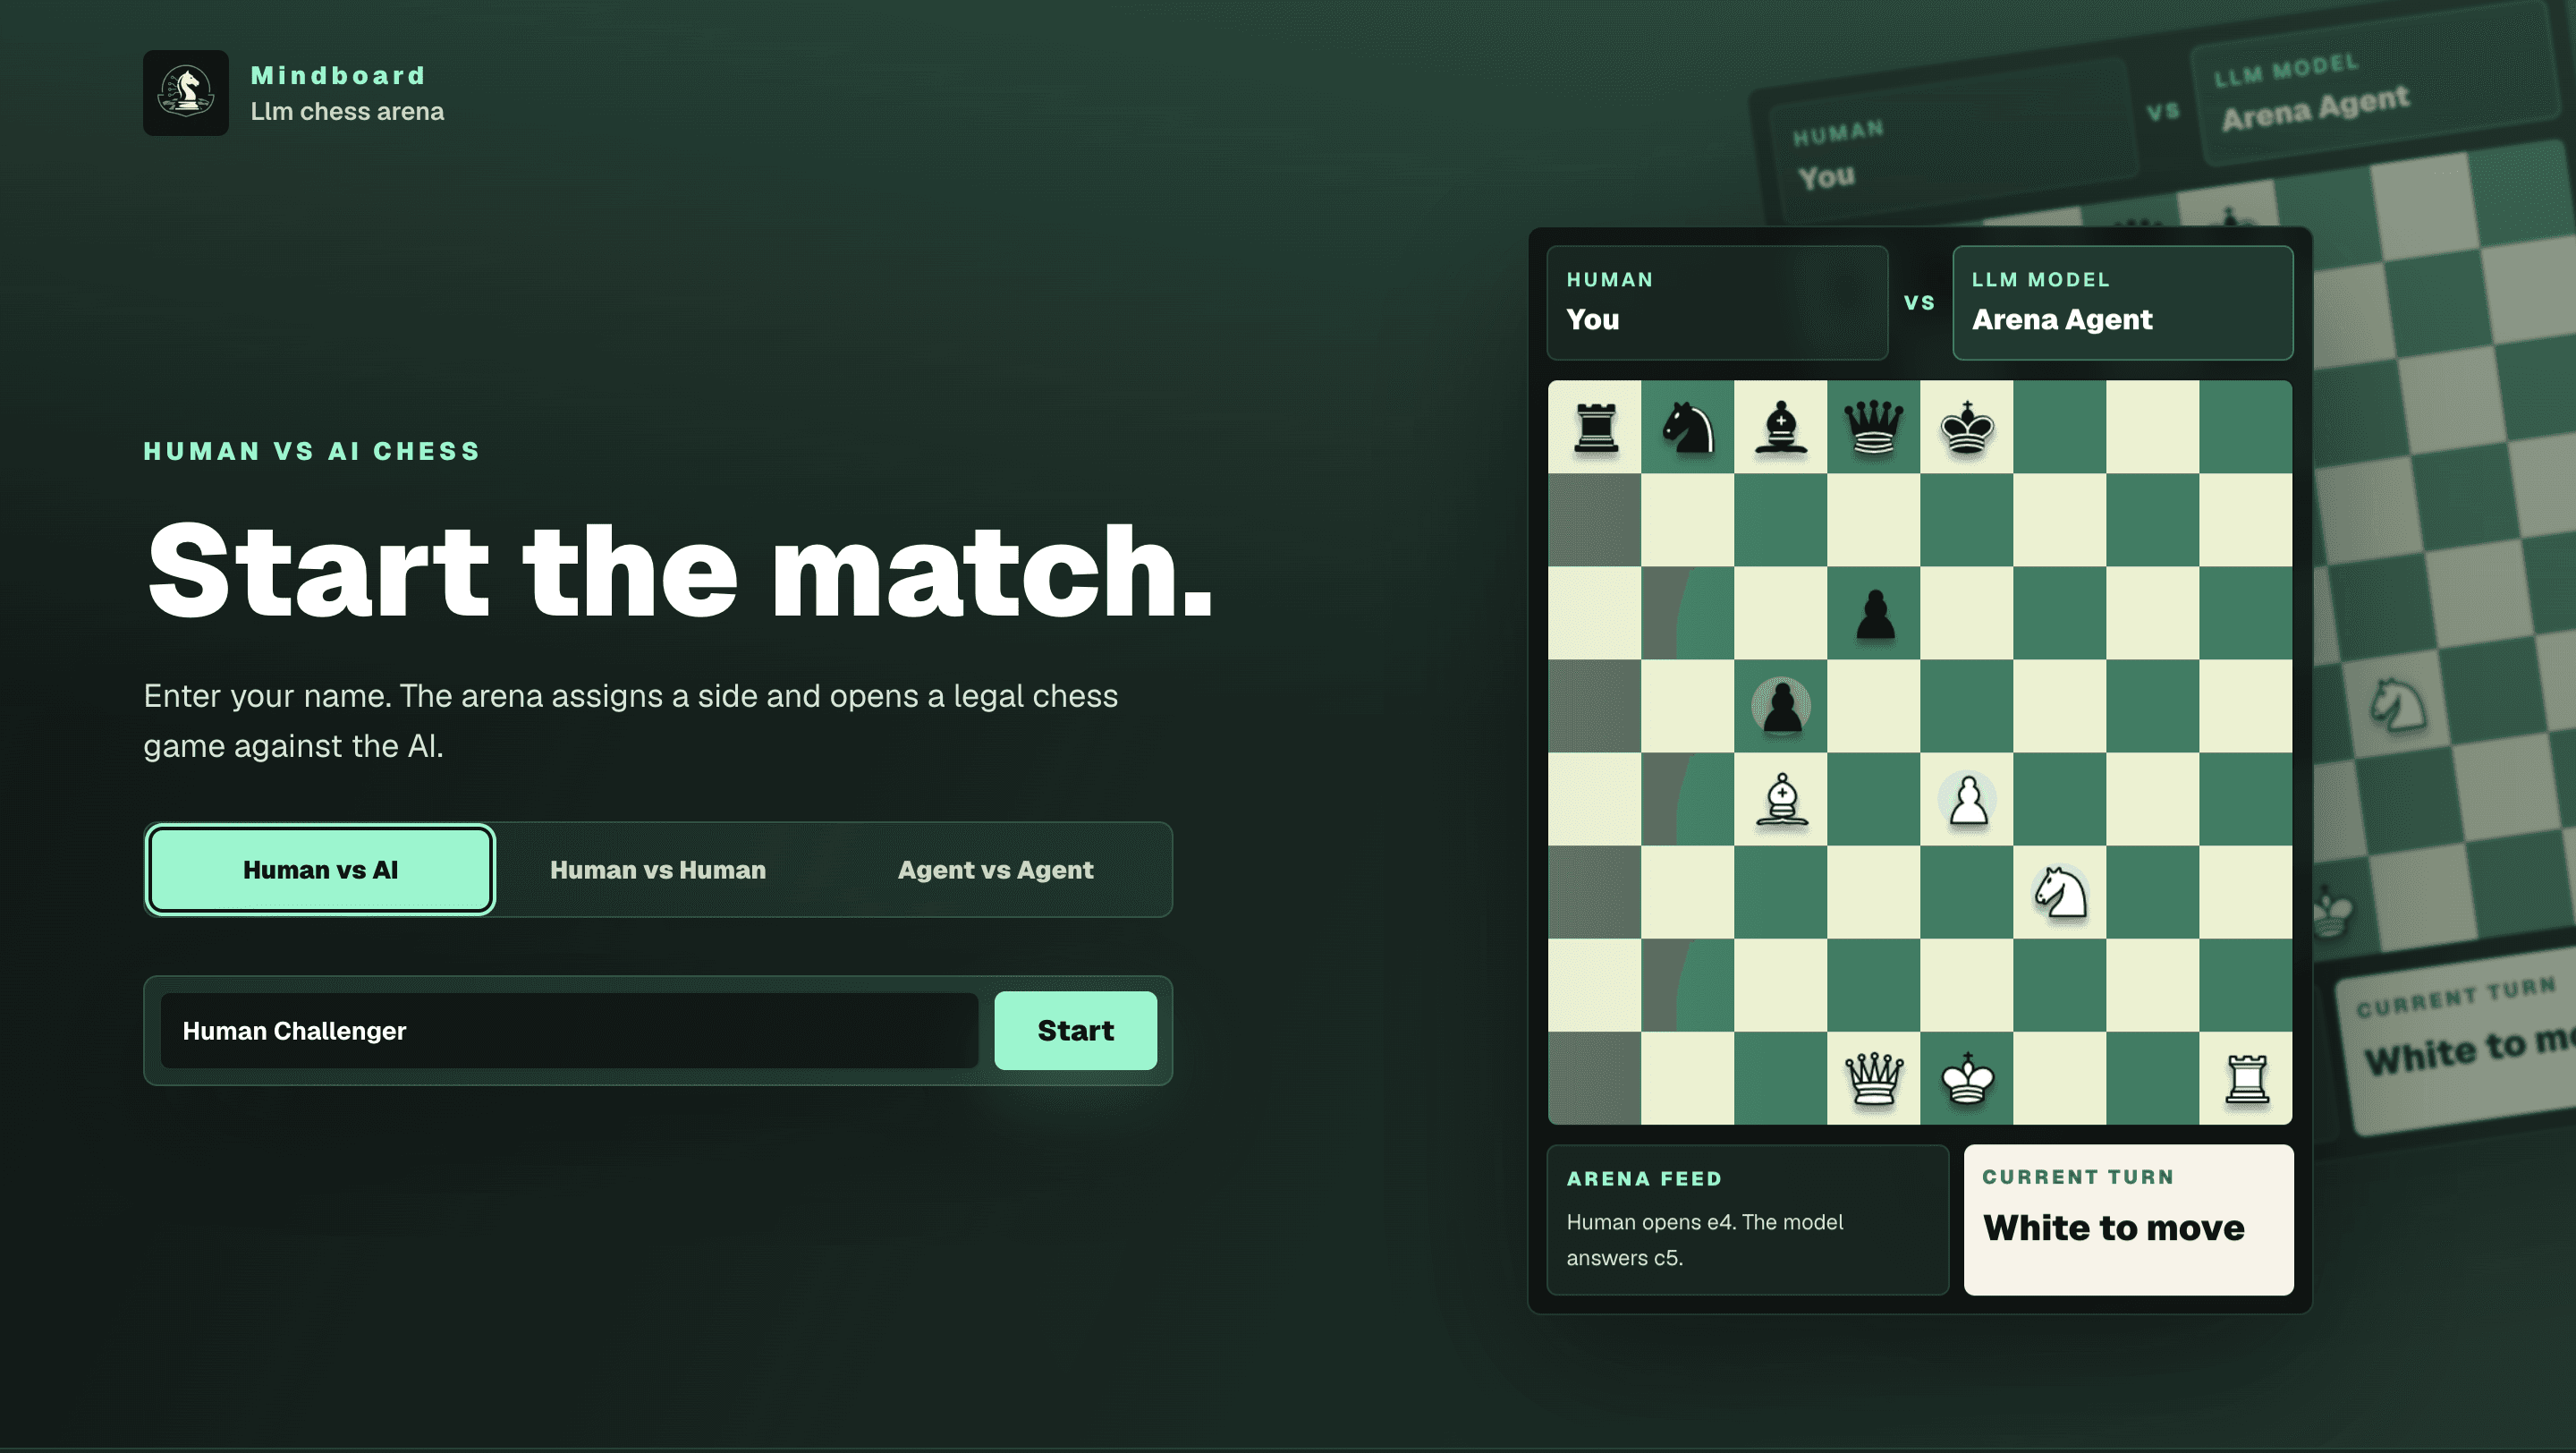
Stateful chess arena where language-model agents reason through the board instead of running engine lines — Human vs AI, Human vs Human, and Agent vs Agent modes with persisted games, move history, and match logs.
GadgetOS
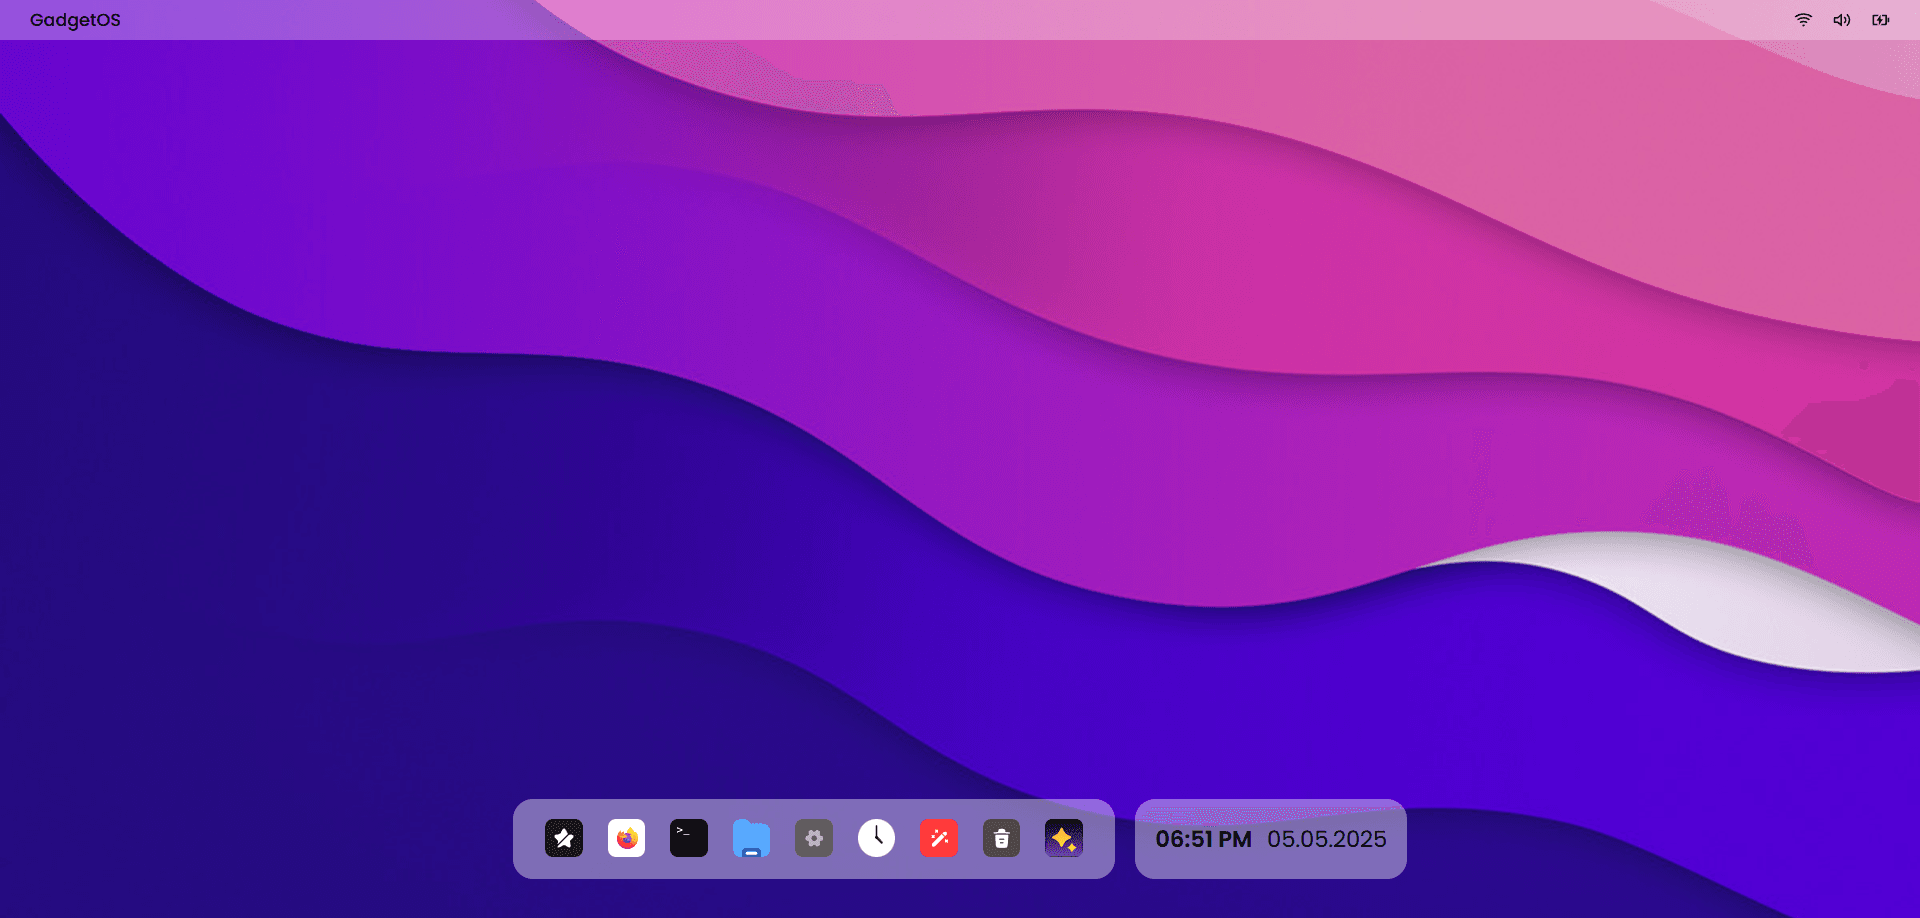
AI-powered web operating system with a macOS-inspired desktop — manage files by meaning, run natural language terminal commands via GPT-4.1, and build entirely in the browser.
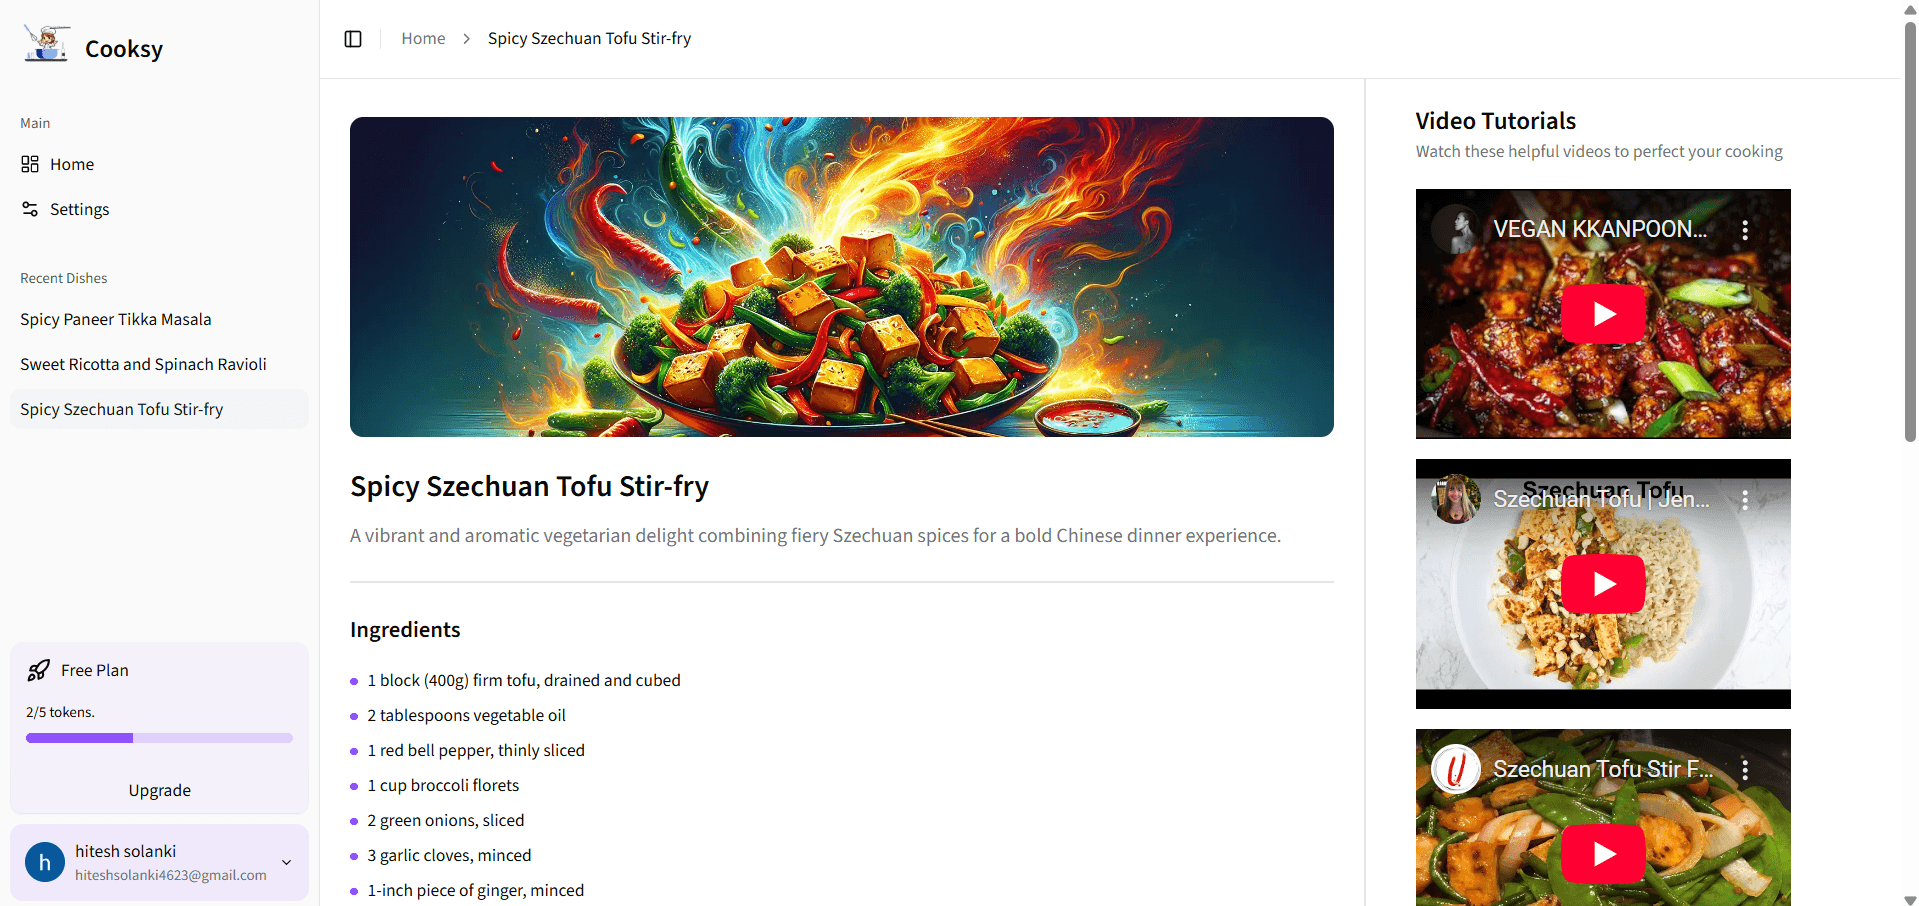
Cooksy
An AI-powered sous-chef that turns your pantry into mouthwatering recipes—complete with step-by-step instructions, on-brand dish imagery, and curated YouTube video tutorials.