Desktop experience inside the browser
GadgetOS
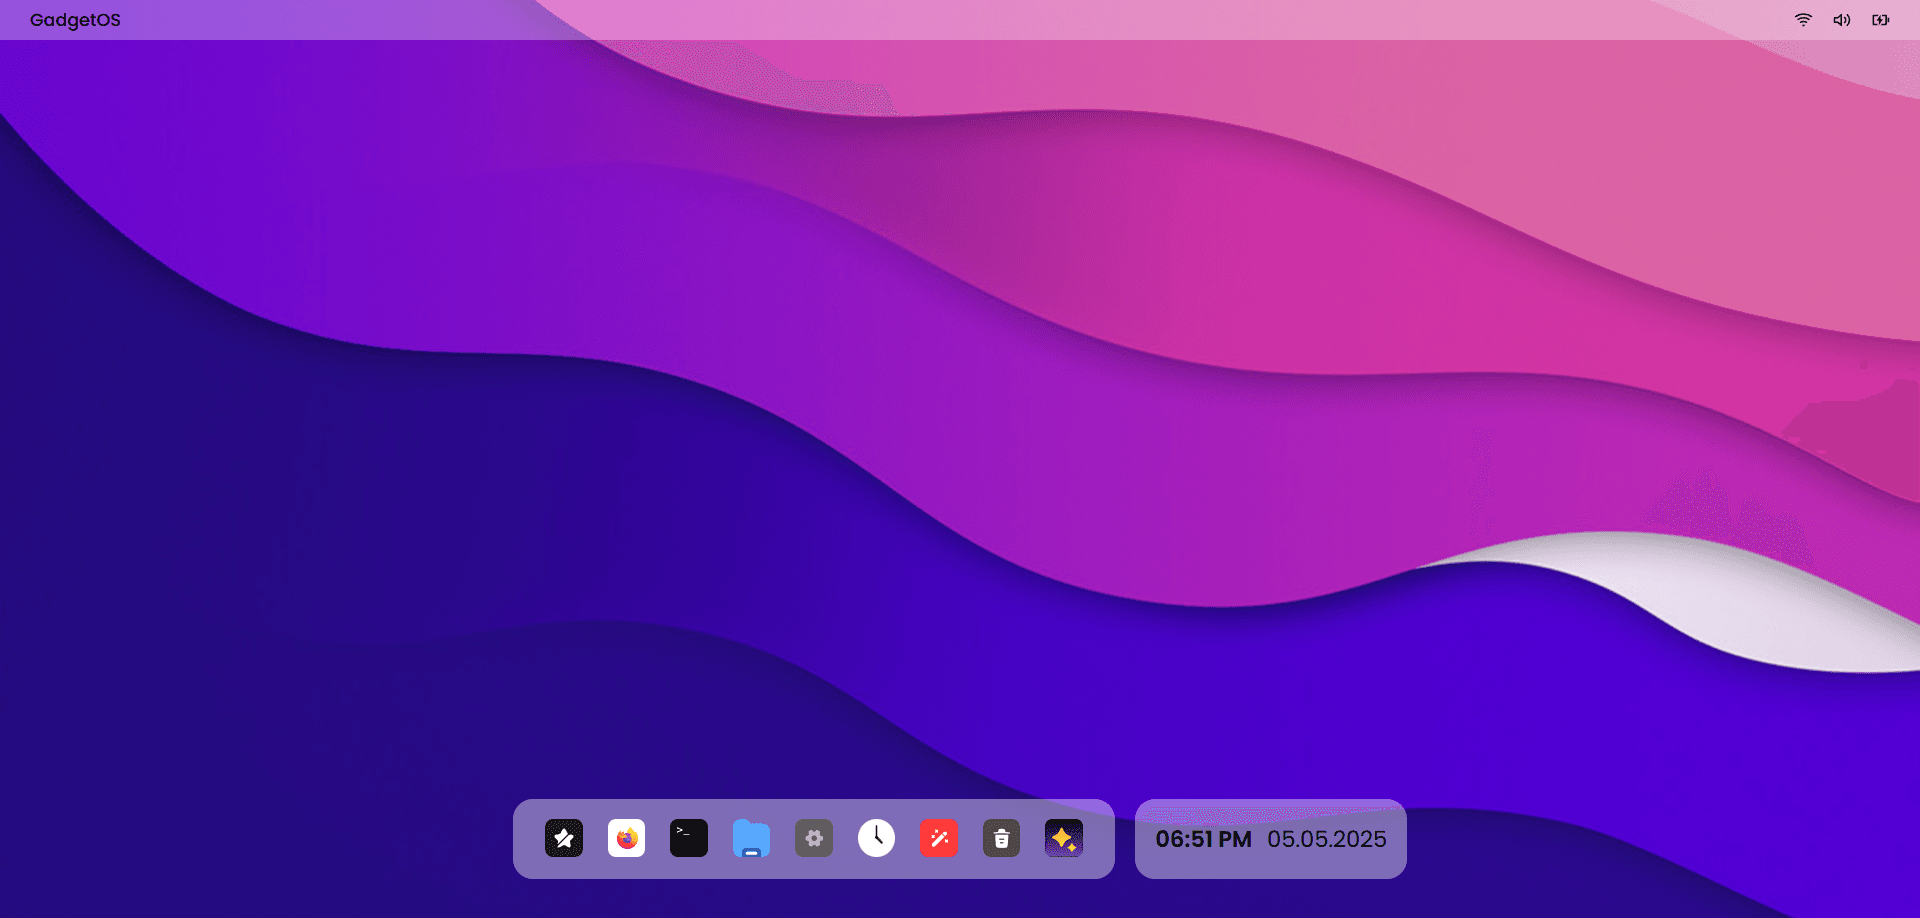
Browser-based operating system built to simulate a desktop-like experience entirely within your browser.
Documentation
GadgetOS
An AI-powered web operating system — manage files by meaning, execute in natural language, and build in the browser.





What is GadgetOS?
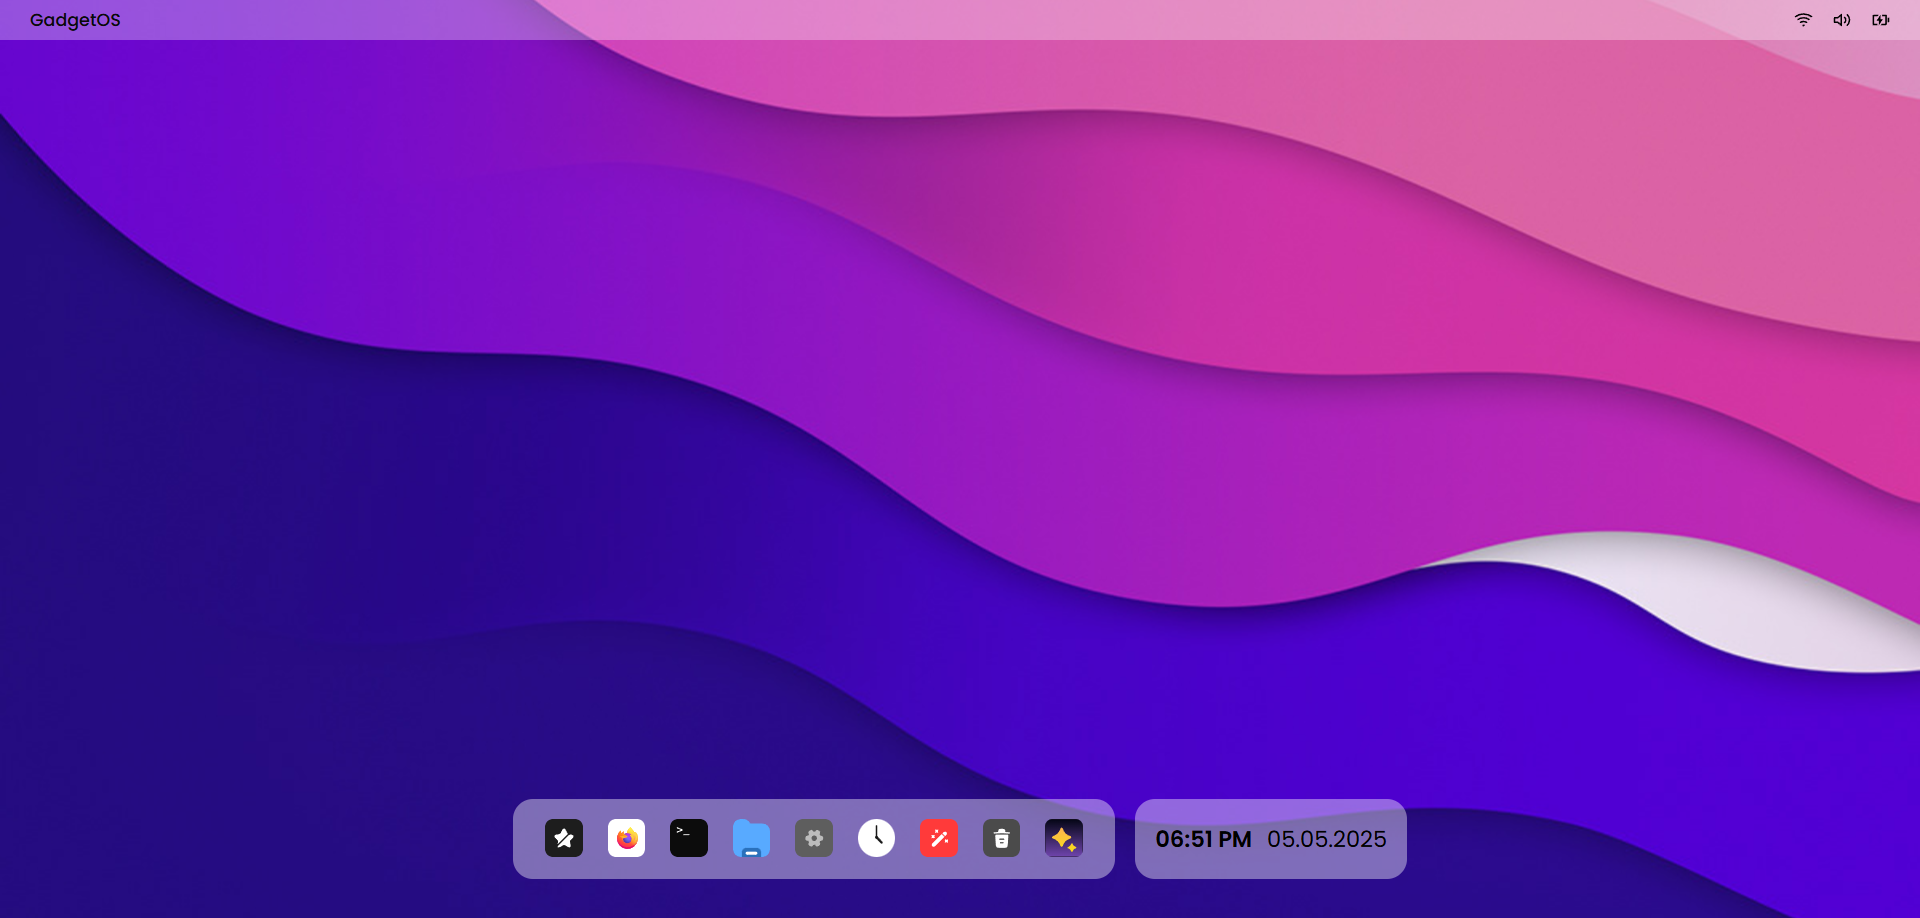
GadgetOS is a fully in-browser operating system experience built with Next.js. It features a macOS-inspired frosted glass desktop shell with real apps — a file explorer backed by Convex and S3, an AI terminal powered by GPT-4.1, a multi-tab text editor, an iframe browser with history and bookmarks, a clock, settings, and more.
Features
| App | Highlights |
|---|---|
| File Explorer | Folder tree, file list, image preview, text & semantic (vector) search via Convex |
| Terminal | ls, cd, mkdir, touch, cat wired to Convex filesystem — unknown commands answered by GPT-4.1 |
| Text Editor | Multi-tab editor that saves files directly to Convex |
| Browser | iframe browser with back/forward/reload stack, Convex-backed bookmarks bar and history, server-side proxy to bypass X-Frame-Options |
| Clock | Live analog + digital clock |
| Settings | Sidebar shell with appearance, profile, and shortcut stubs |
| About | System info panel |
| Trash Bin | Soft-delete destination for future file ops |
| Desktop Shell | Frosted glass navbar, animated floating dock, draggable/resizable windows with dnd-kit |
Tech Stack
- Framework — Next.js 16 (App Router, React 19)
- Database / Realtime — Convex (queries, mutations, vector search)
- Storage — AWS S3 (file uploads, presigned URLs)
- AI — OpenAI GPT-4.1 (terminal fallback, image descriptions, embeddings)
- UI — Tailwind CSS v4, Radix UI, Lucide, Motion
- State — Zustand
- Drag & Drop — dnd-kit
- Analytics — Vercel Analytics (production only)
Getting Started
Prerequisites
1. Clone & install
git clone https://github.com/Hitesh-s0lanki/gadgetOS.git
cd gadgetOS
npm install
2. Configure environment variables
cp .env.example .env.local
Fill in .env.local:
# OpenAI
OPENAI_API_KEY=sk-proj-...

# AWS S3
GADGETOS_ACCESS_KEY_ID=AKIA...
GADGETOS_SECRET_ACCESS_KEY=your-secret-access-key
GADGETOS_REGION=ap-south-1
GADGETOS_S3_BUCKET=your-s3-bucket-name

# Convex
CONVEX_DEPLOYMENT=dev:your-deployment-name
NEXT_PUBLIC_CONVEX_URL=https://your-deployment-name.convex.cloud
3. Start Convex
npx convex dev
4. Run the dev server
npm run dev
Open http://localhost:3001 in your browser.
Project Structure
gadgetos/
├── convex/              # Convex schema, queries & mutations
│   ├── schema.ts
│   ├── files.ts
│   ├── folders.ts
│   ├── browser.ts
│   └── ...
├── src/
│   ├── app/
│   │   ├── (public)/    # Landing page
│   │   ├── webos/       # Desktop shell & lock screen
│   │   └── api/         # Route handlers (proxy, upload, presign, AI terminal)
│   ├── components/
│   │   └── webos/
│   │       ├── apps/    # All OS apps (terminal, browser, file-explorer, …)
│   │       ├── desktop/ # Navbar, taskbar, desktop screen
│   │       ├── window/  # Draggable window base
│   │       └── ...
│   ├── hooks/webos/     # Per-app Zustand window stores
│   └── lib/             # OpenAI helpers
└── public/              # Static assets & icons
API Routes
| Route | Method | Purpose |
|---|---|---|
/api/proxy | GET | Server-side web proxy — strips X-Frame-Options so sites render in the browser iframe |
/api/upload | POST | Uploads a file to S3, writes a Convex record |
/api/presign | GET | Generates a presigned S3 URL for image preview |
/api/openai-terminal | POST | GPT-4.1 fallback for unknown terminal commands |
Deployment
The project is deployed on Vercel. Vercel Analytics is enabled automatically via the VERCEL_ENV environment variable — no additional configuration needed.
Make sure to add all environment variables from .env.example to your Vercel project settings, then deploy:
vercel --prod
Contributing
- Fork the repo
- Create a feature branch (
git checkout -b features/your-feature) - Commit your changes
- Open a pull request against the
devbranch
<div align="center">
Built with ❤️ using Next.js, Convex & OpenAI
</div>Keep exploring
Related work
Kya Banana Hai
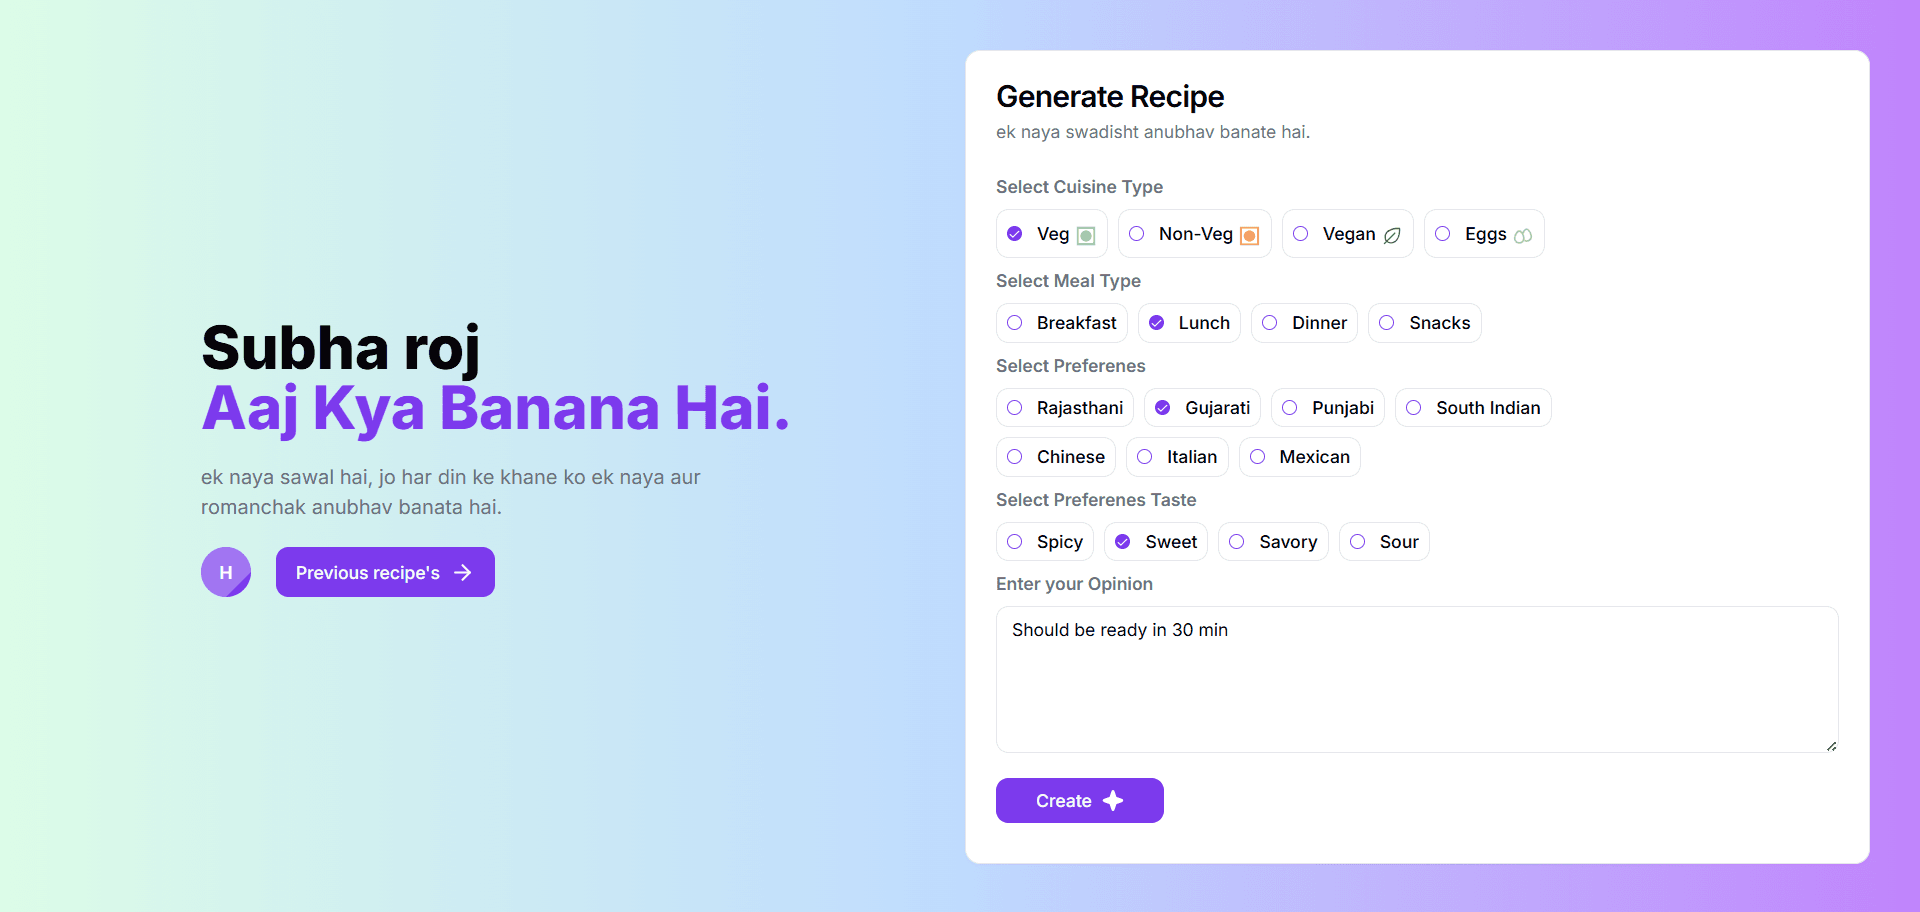
A smart kitchen assistant that helps you decide what food to cook based on ingredients, time, and mood — powered by AI.
GadgetOS
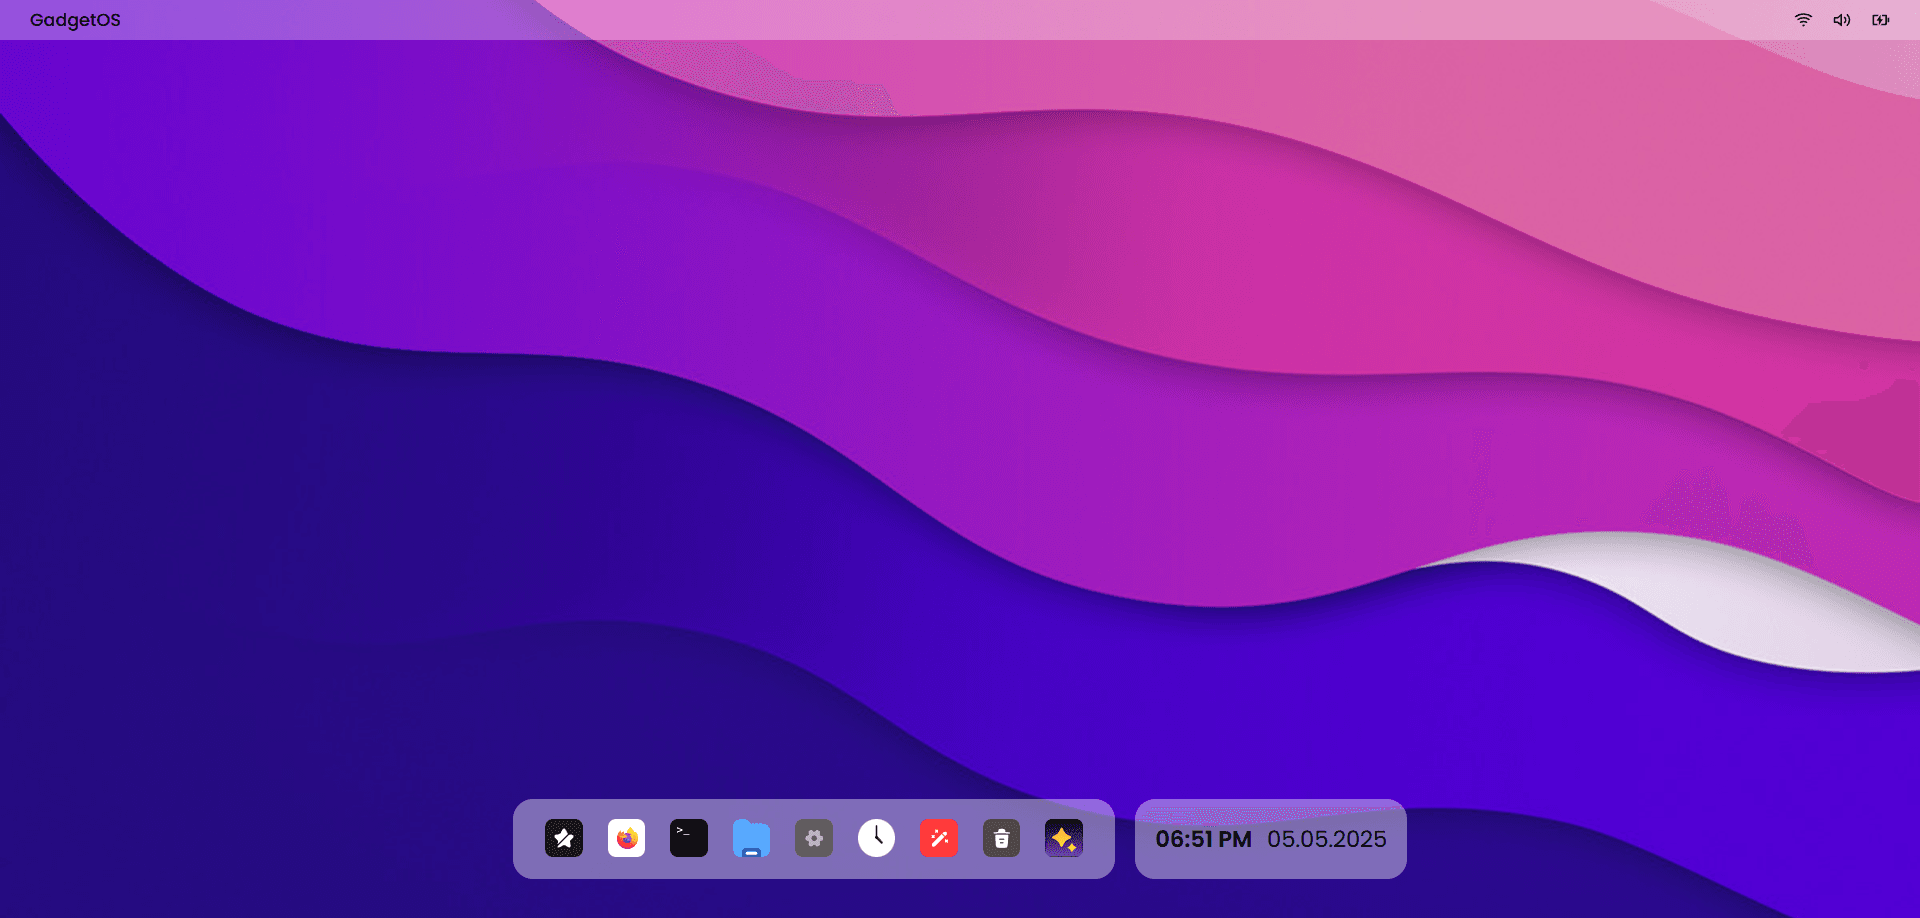
AI-powered web operating system with a macOS-inspired desktop — manage files by meaning, run natural language terminal commands via GPT-4.1, and build entirely in the browser.
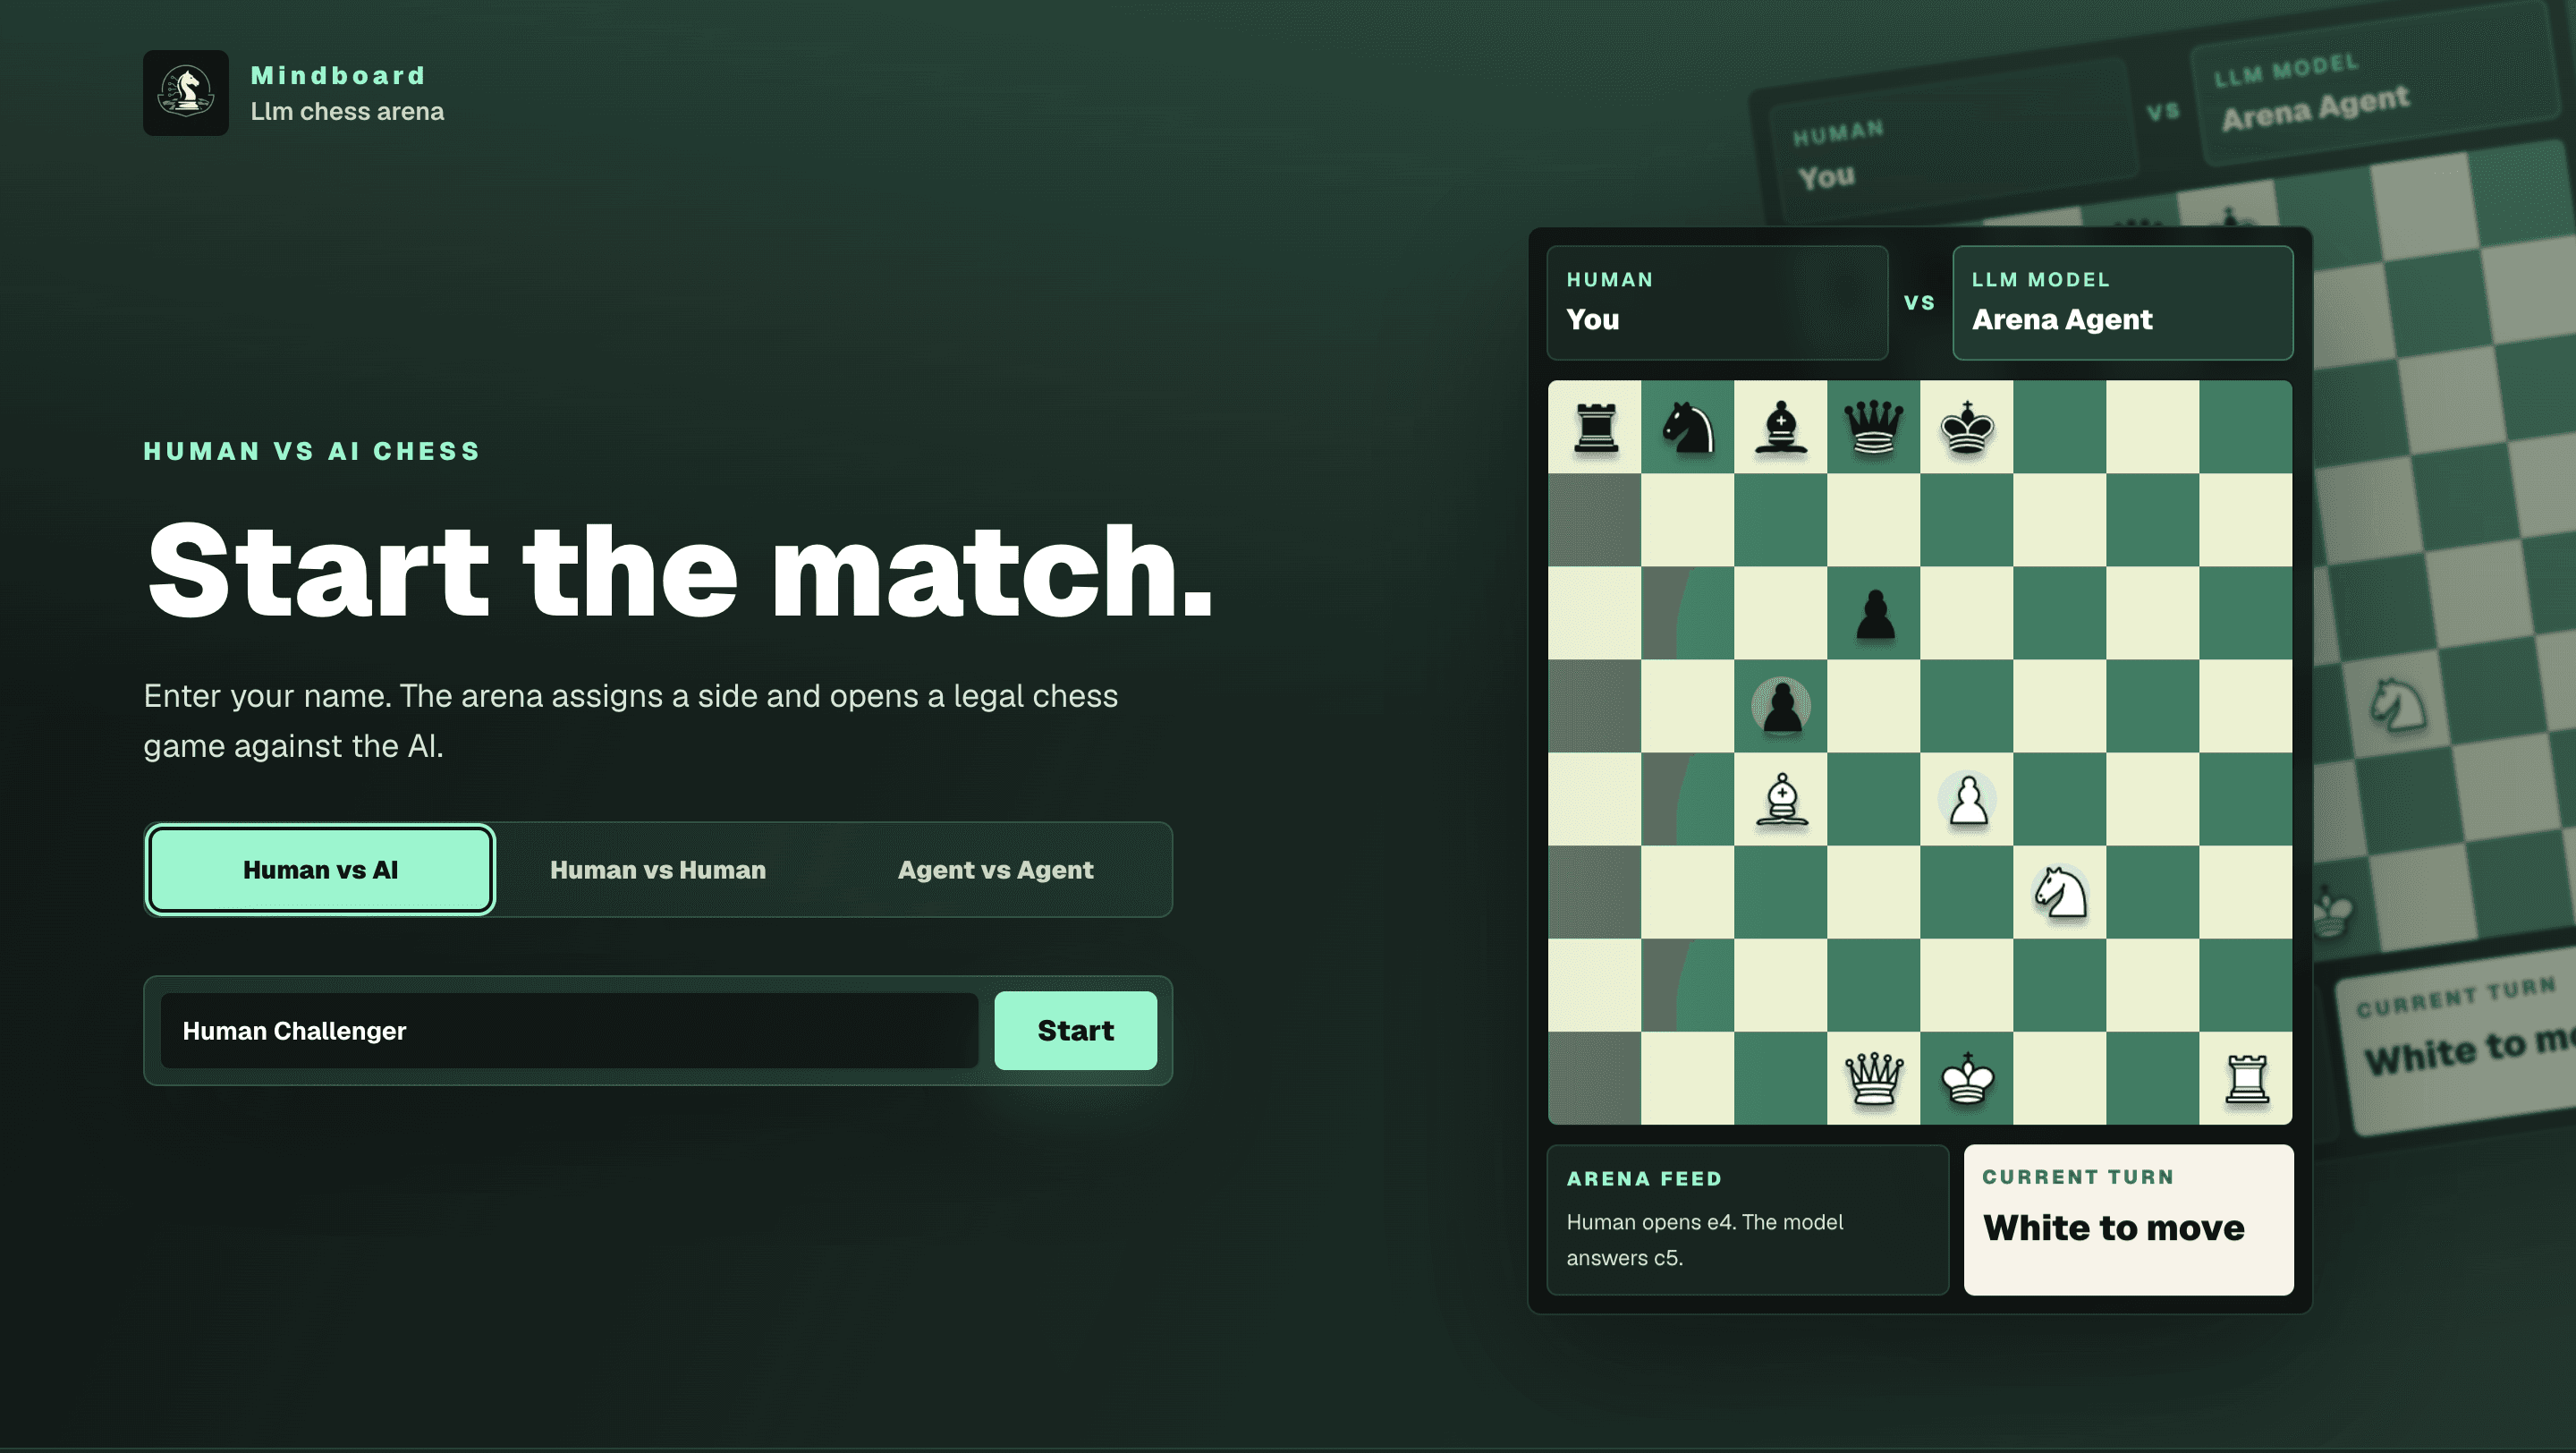
MindBoard Arena
Stateful chess arena where language-model agents reason through the board instead of running engine lines — Human vs AI, Human vs Human, and Agent vs Agent modes with persisted games, move history, and match logs.