Inventory system on AWS infrastructure
Inventory Management
Full-stack inventory system deployed on AWS with secure, scalable cloud infra.
Documentation
Inventory Management System
Overview
The Inventory Management System is a web application built with Next.js for the frontend and Node.js (Express) for the backend. It allows businesses to manage their inventory efficiently by tracking products, sales, purchases, and expenses. The application is deployed on AWS using a secure and scalable architecture.
Screenshots
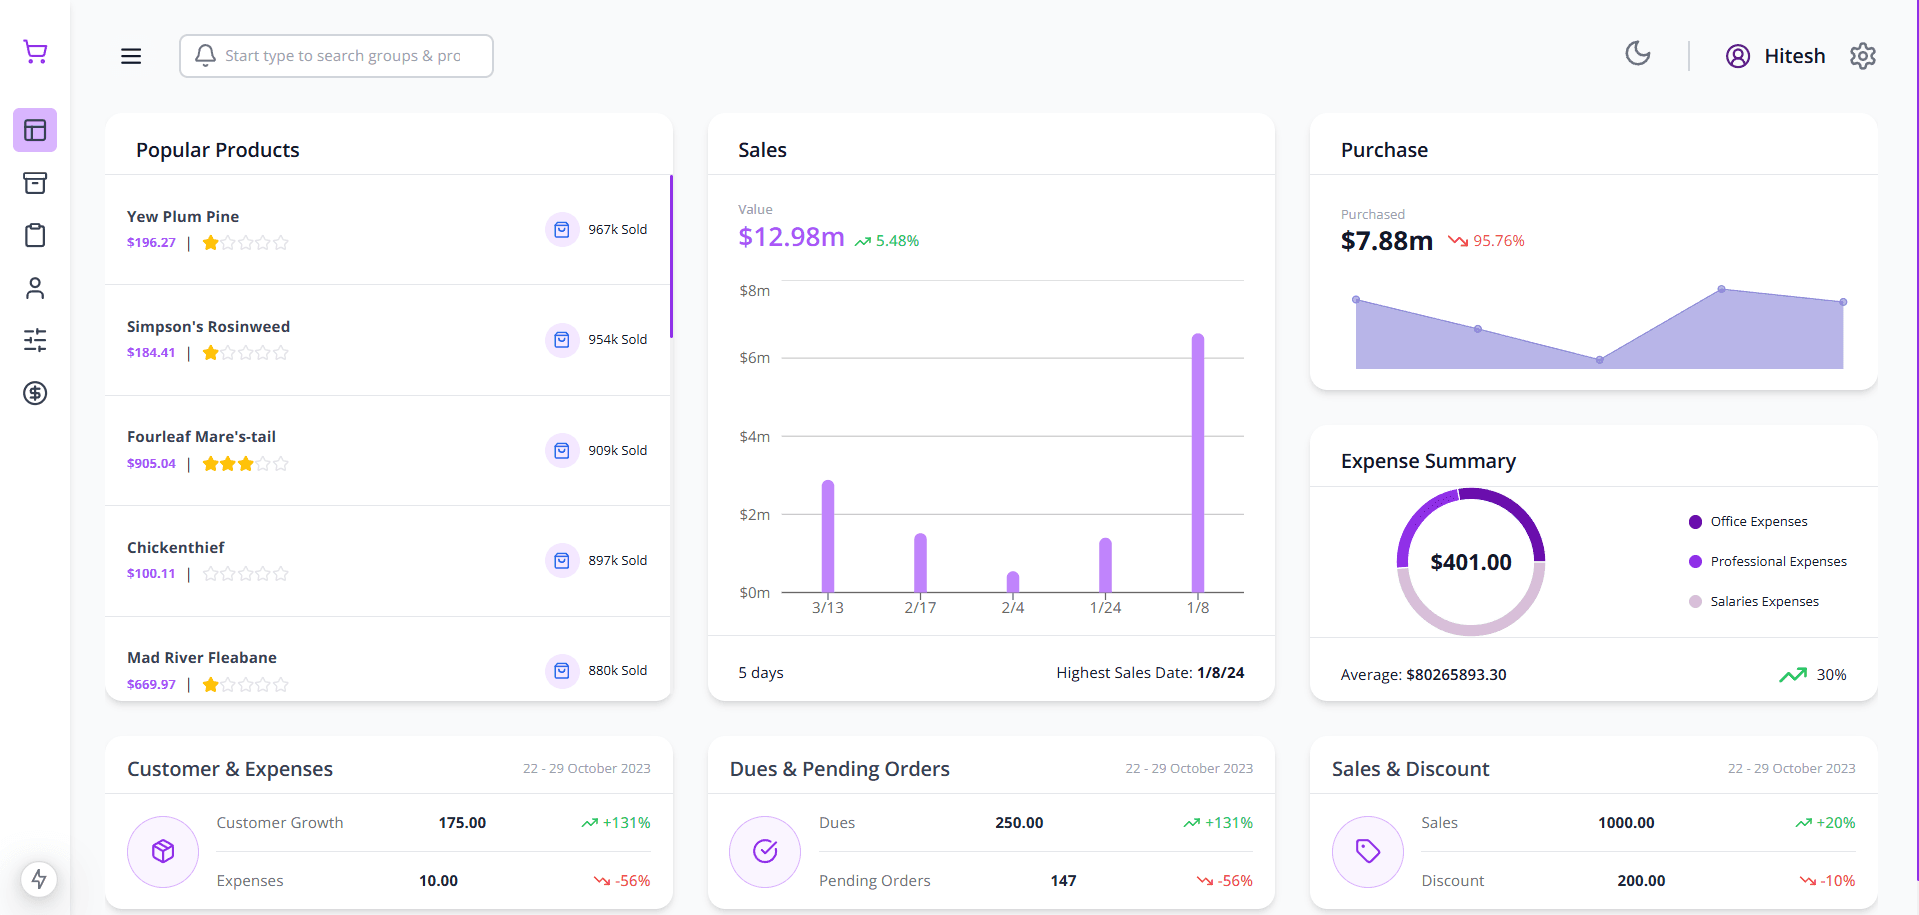
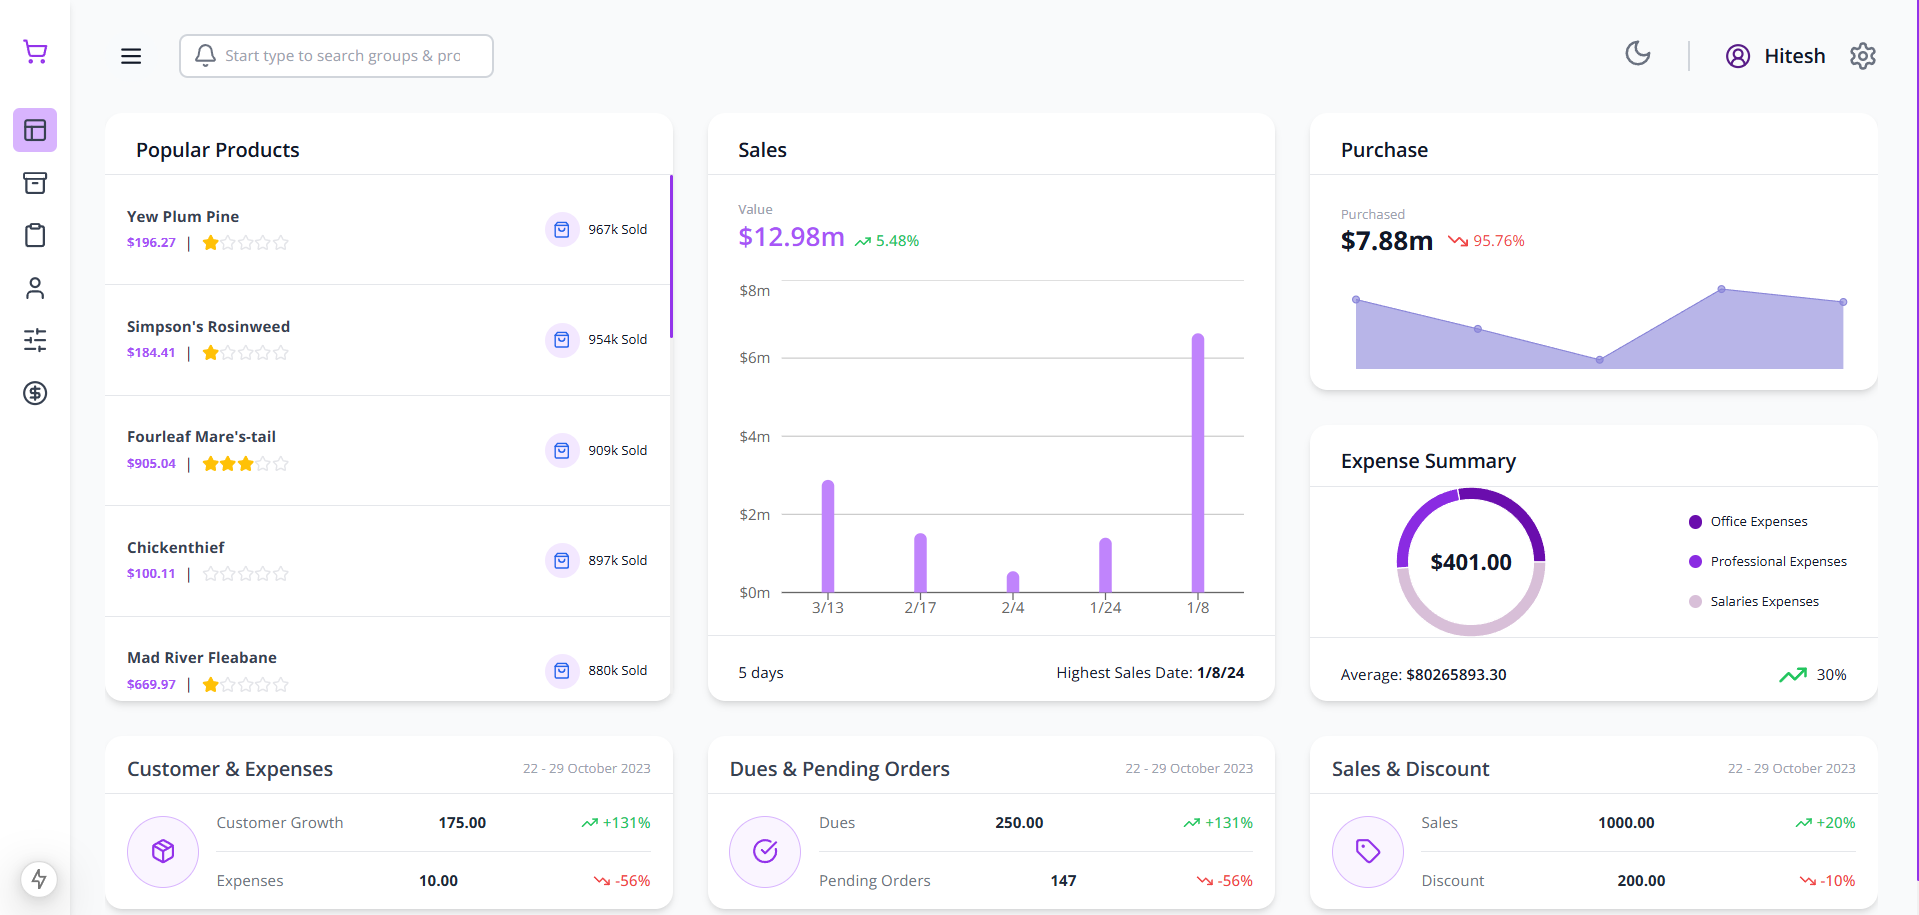
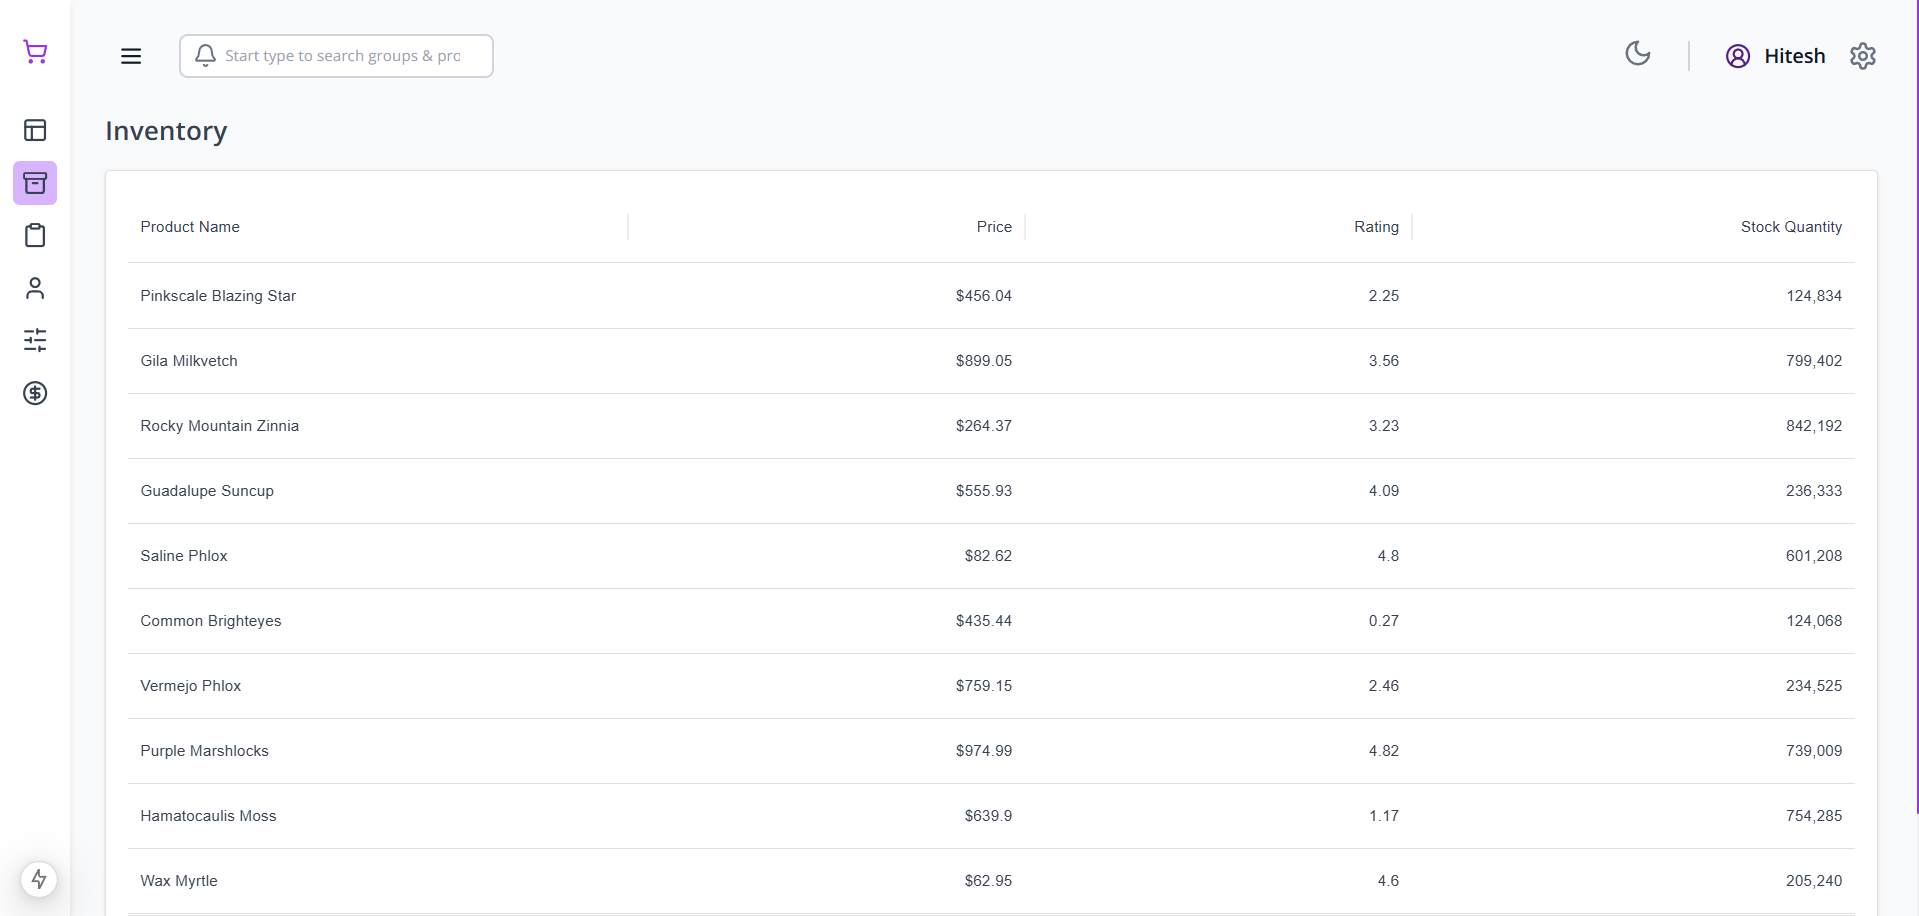
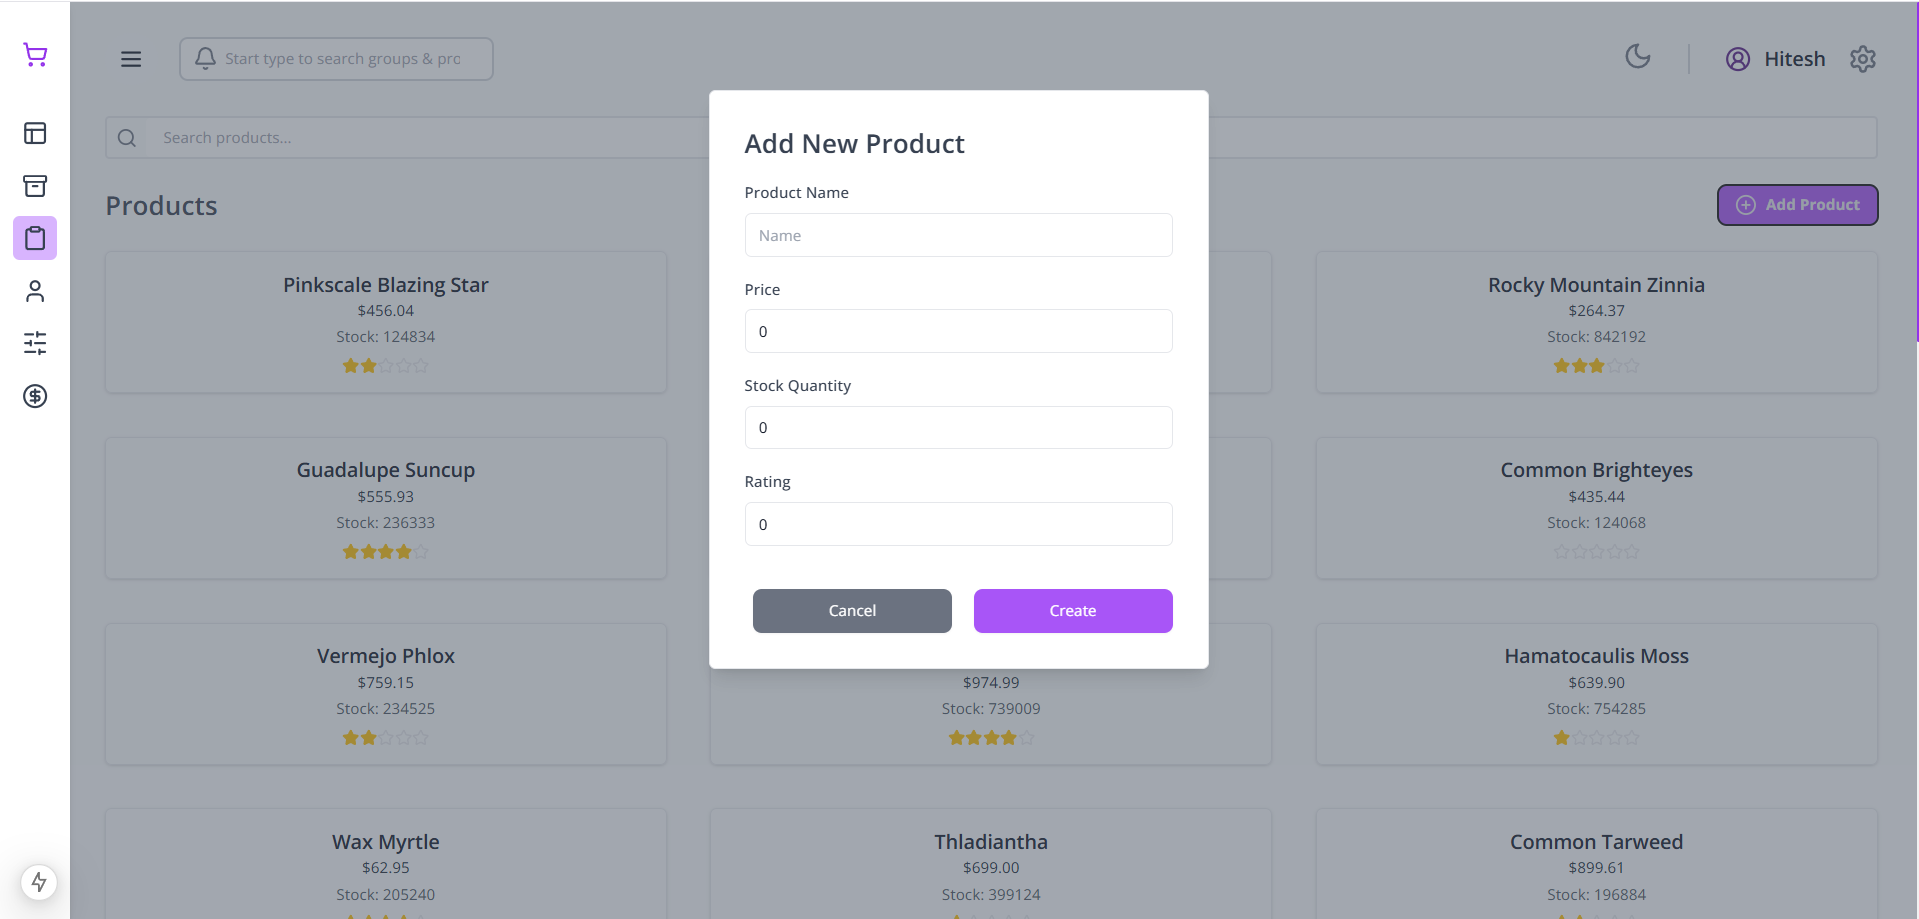
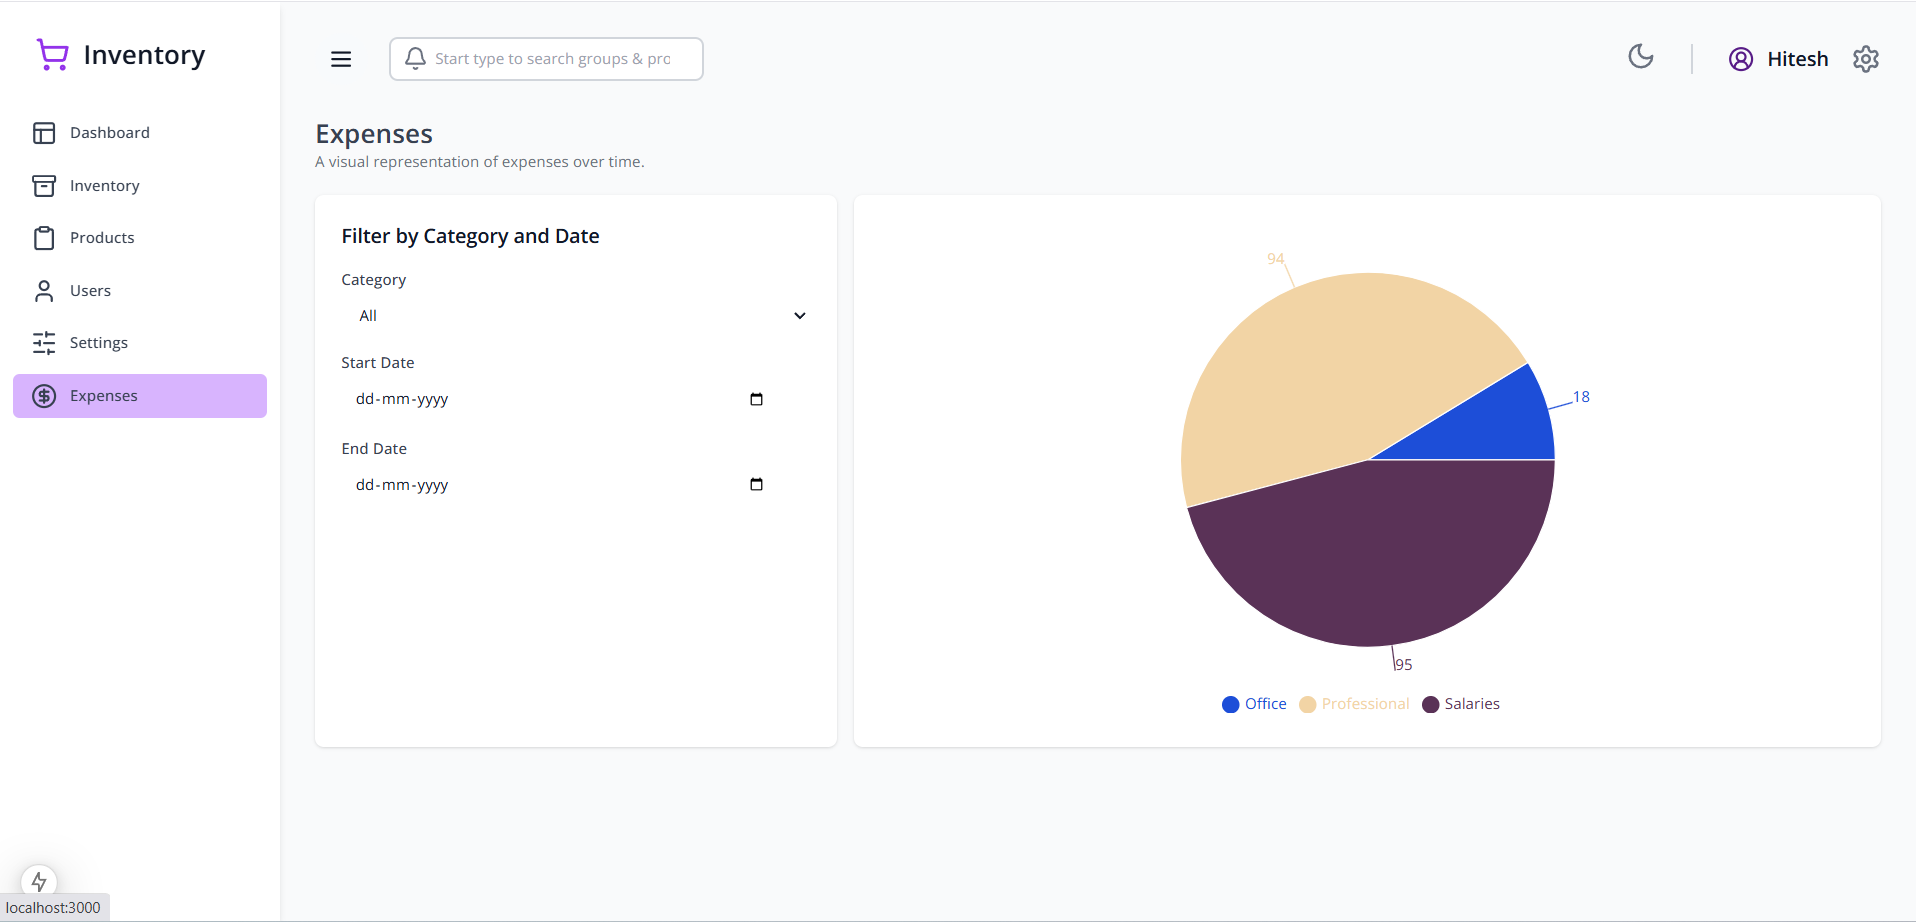
Screenshots of the application can be found in the screenshots directory. To display them in this README, use the following format:

Features
- Product Management: Add, update, delete, and view products with stock details.
- Sales & Purchase Tracking: Monitor sales and purchases with graphical reports.
- Expense Management: Categorized tracking of expenses with filtering options.
- User Authentication: Secure login and role-based access control.
- Dashboard: Real-time analytics and insights on sales, expenses, and inventory.
Tech Stack
Frontend
- Framework: Next.js
- UI Library: Tailwind CSS
- State Management: React Context API / Redux (if applicable)
Backend
- Framework: Node.js with Express.js
- Database: PostgreSQL / MySQL (Specify which one is used)
- Authentication: JWT (JSON Web Tokens)
Deployment & Infrastructure
The application is hosted on AWS using the following architecture:
- AWS VPC: A Virtual Private Cloud with public and private subnets.
- Amazon EC2: Backend service running inside a public subnet.
- Amazon RDS: Database running inside a private subnet.
- AWS Amplify: Hosting the Next.js frontend.
- AWS S3: Storing static assets like images and documents.
- Security: Firewalls for network security and VPC Internet Gateway for external access.
Installation & Setup
Prerequisites
Ensure you have the following installed:
- Node.js (>= 14.x)
- PostgreSQL / MySQL
- AWS CLI (for deployment)
Backend Setup
- Clone the repository:
git clone https://github.com/your-repo/inventory-management.git cd inventory-management/backend - Install dependencies:
npm install - Create a
.envfile and configure your database and JWT secret:PORT=5000 DATABASE_URL=your-db-url - Start the backend server:
npm run dev
Frontend Setup
- Navigate to the frontend directory:
cd ../frontend - Install dependencies:
npm install - Create a
.env.localfile for frontend environment variables:NEXT_PUBLIC_API_BASE_URL=http://localhost:5000 - Start the development server:
npm run dev
Deployment
AWS Deployment
Backend (Node.js Express on EC2)
- Package the backend application and upload it to the EC2 instance.
- Use PM2 to run the server in production mode:
pm2 start server.js - Set up Nginx as a reverse proxy (if applicable).
Frontend (Next.js on AWS Amplify)
- Connect the GitHub repository to AWS Amplify.
- Configure the build settings in Amplify.
- Deploy the application with automatic CI/CD.
Usage
- Visit the hosted frontend URL and log in.
- Manage products, sales, and expenses from the dashboard.
- View graphical reports and analytics.
Contributing
Contributions are welcome! Please follow these steps:
- Fork the repository.
- Create a feature branch (
git checkout -b feature-branch). - Commit your changes (
git commit -m 'Add new feature'). - Push to the branch (
git push origin feature-branch). - Create a pull request.
License
This project is licensed under the MIT License.
Keep exploring
Related work

Rumiva
Interior design studio experience built for a 3D web hackathon — a React Three Fiber room you explore straight from the hero, plus designer portfolios, project galleries, and service pages tied together with GSAP motion and smooth scrolling.
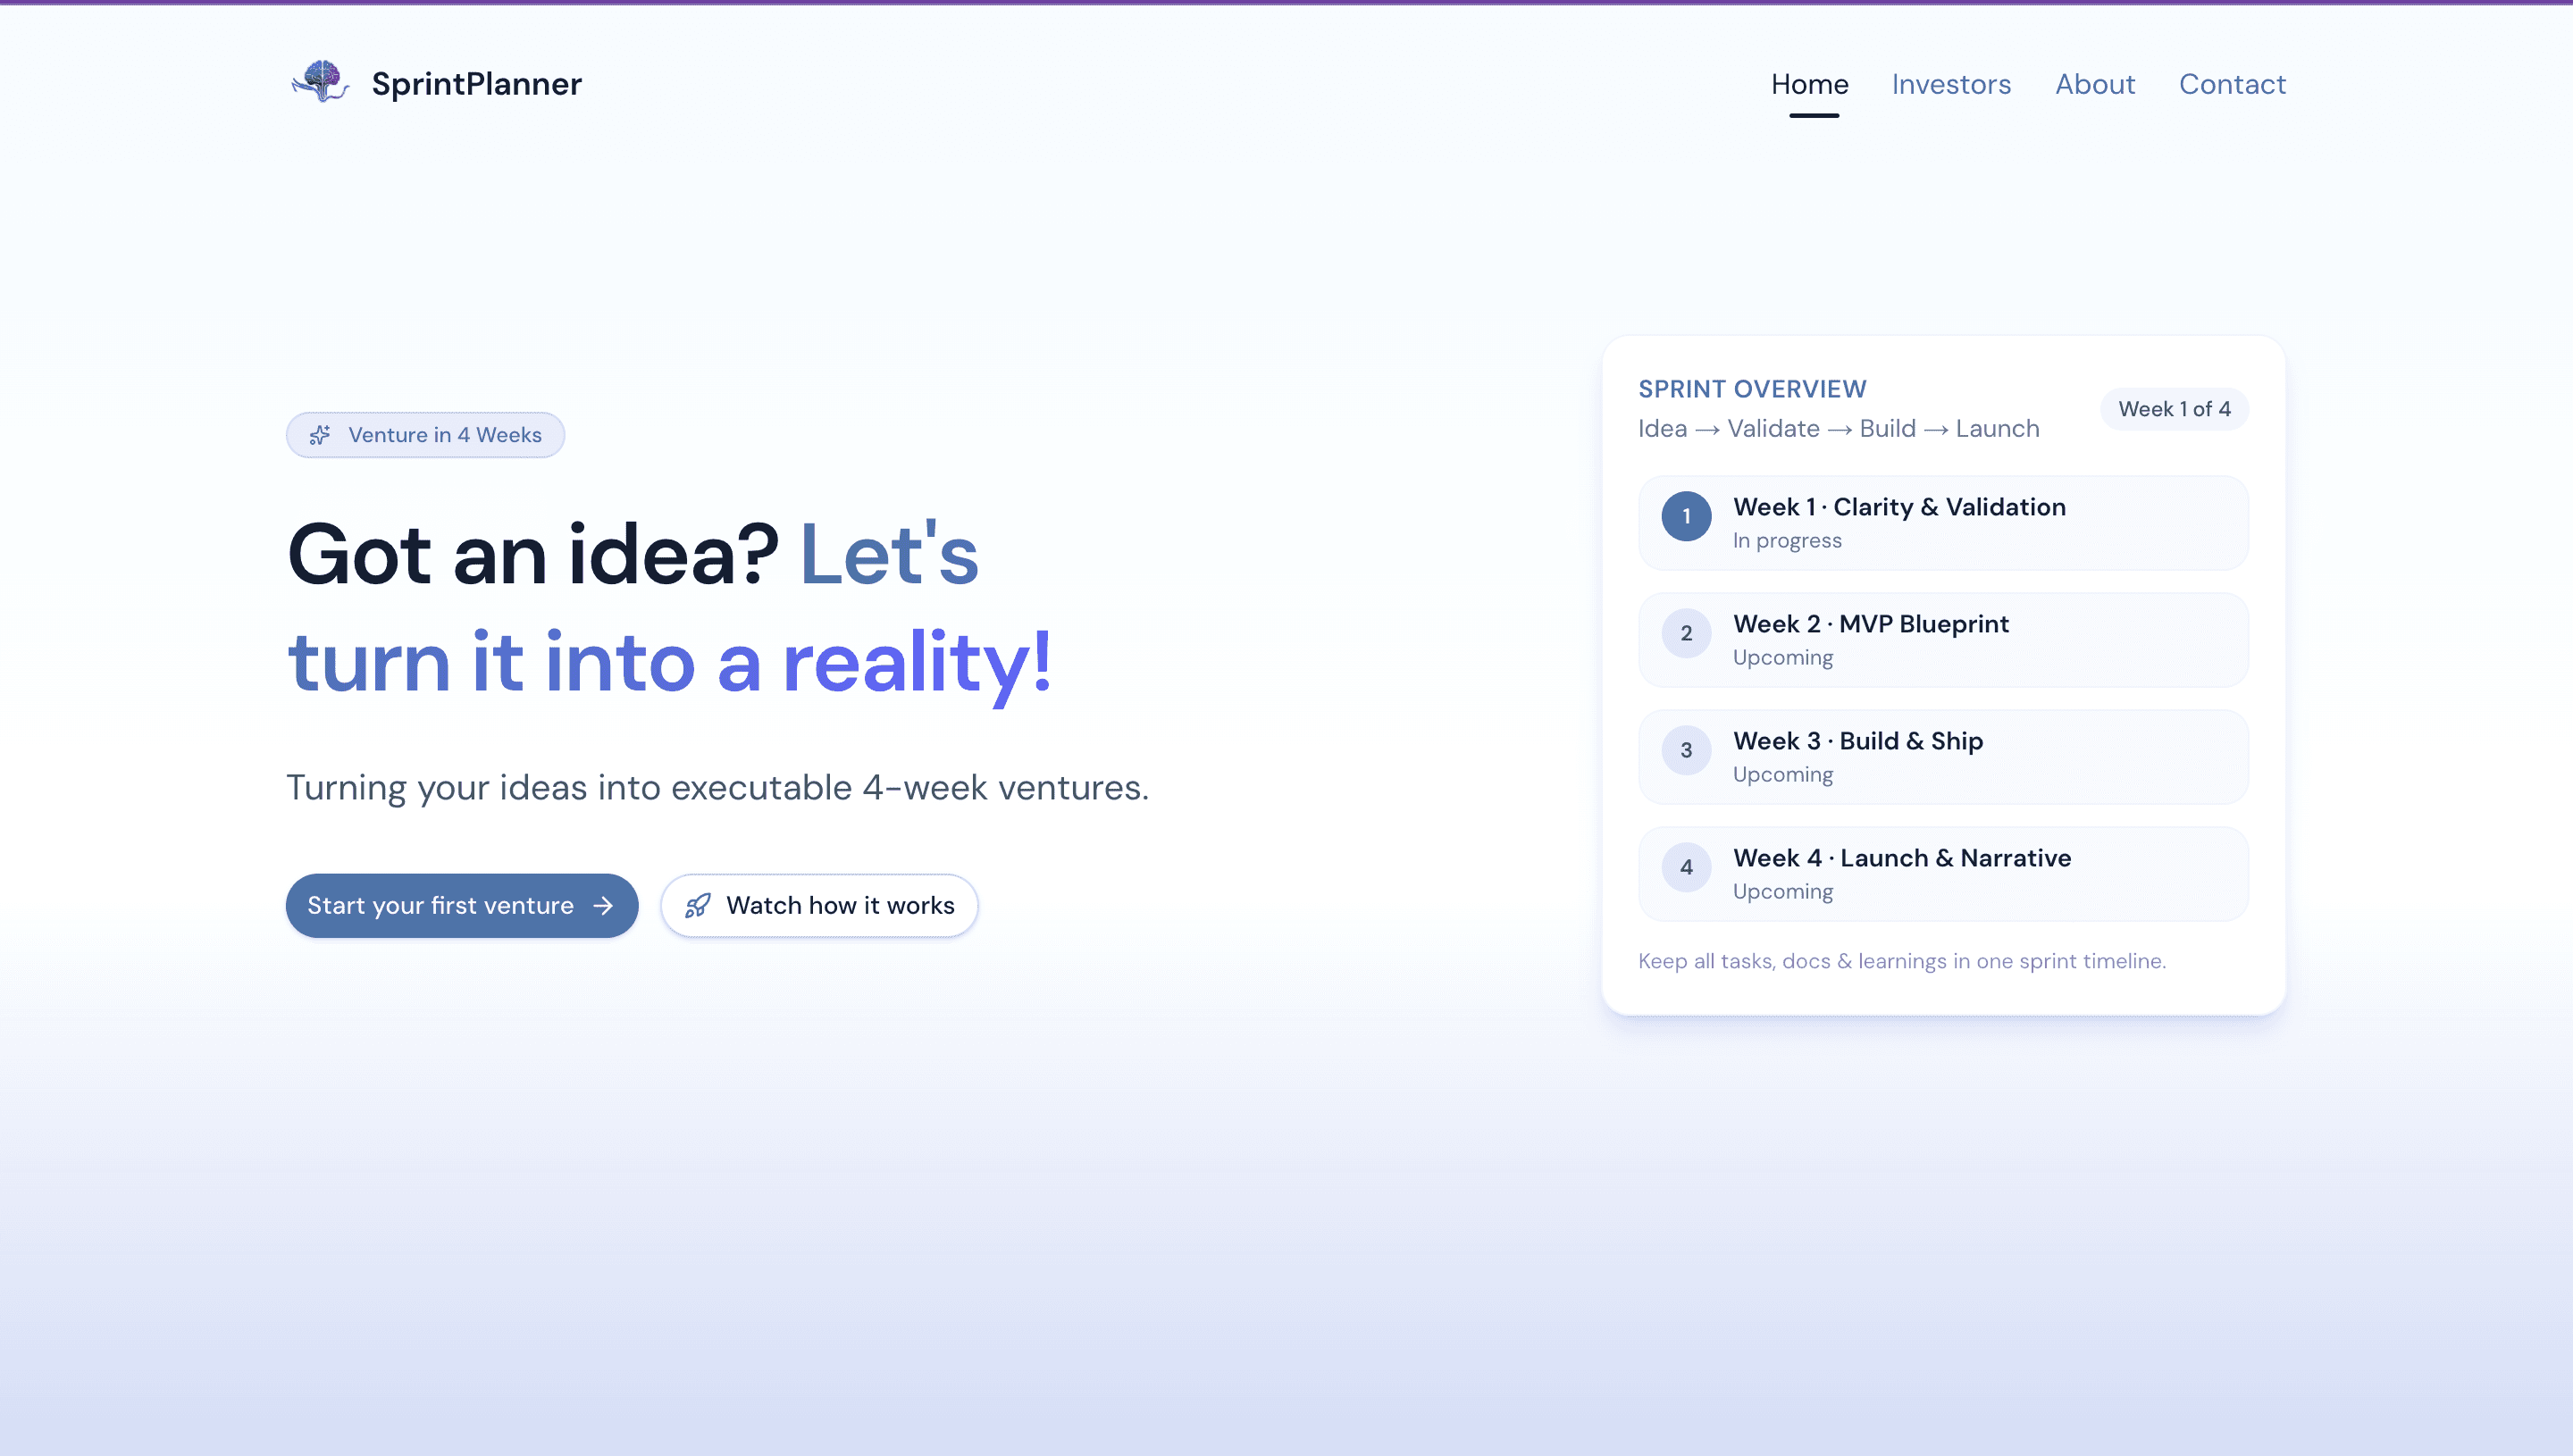
SprintPlanner
Turning your ideas into executable 4-week ventures.
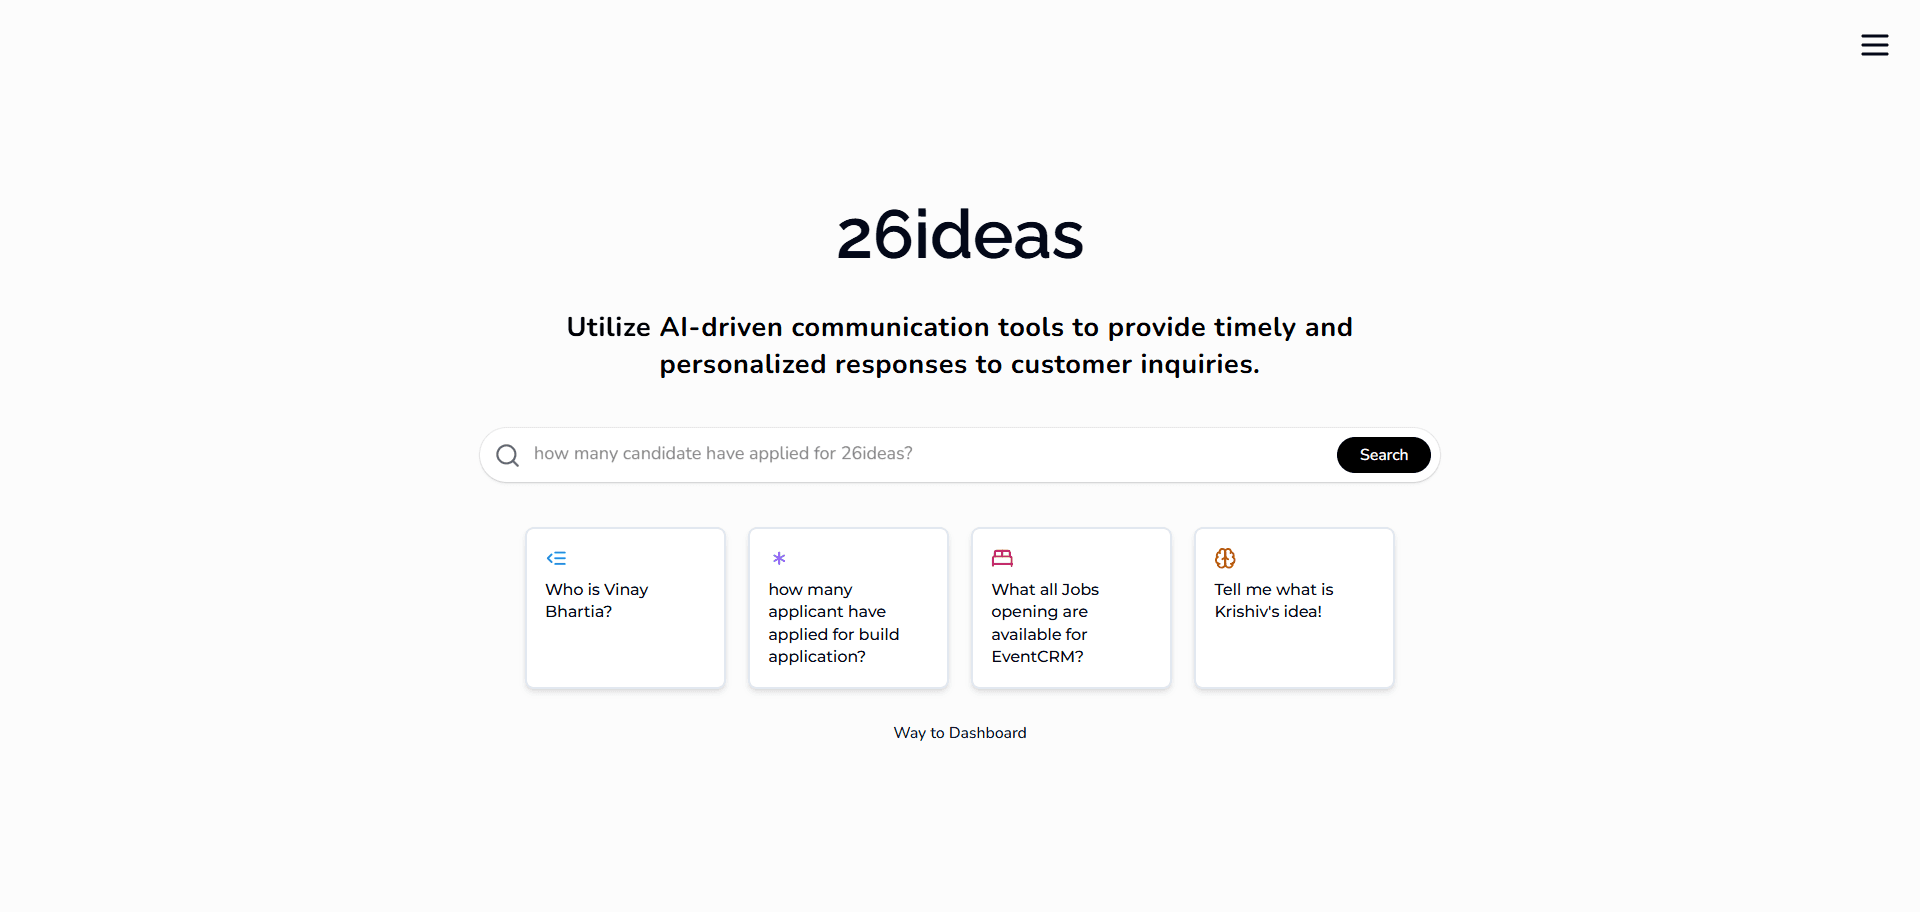
AI-CRM Platform - 26ideas
An AI-powered CRM platform designed to streamline operations by centralizing contacts, jobs, candidates, companies, and ideas.